
Don’t know how to get potatoes to sprout eyes effectively? Worry not! Read on and discover the 3 easy ways to do it and how to store the tubers before planting. Also, learn how to choose the right variety, and finally, how to deal with pests and diseases.
Don’t waste time, let’s get right into it!
Contents
How to Get Potatoes to Sprout Eyes: 3 Easy Ways
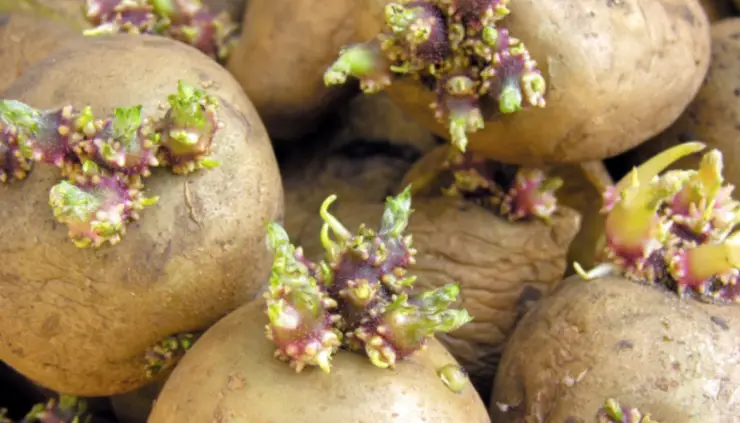
The eyes on a potato are actually dormant buds that have the potential to develop into new shoots and stems, allowing the plant to propagate asexually. They are crucial for potato propagation.
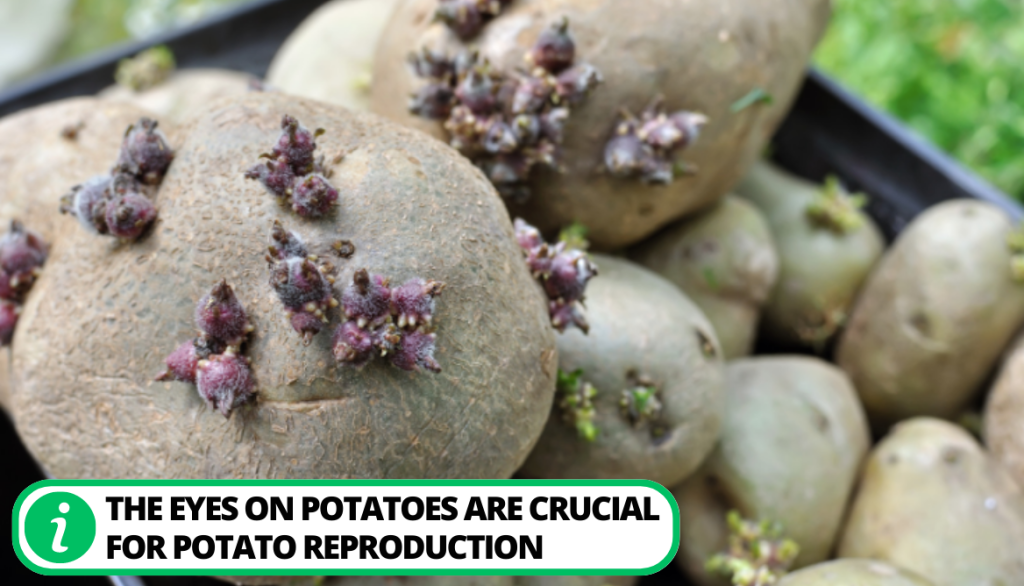
When the conditions are favorable, these dormant buds receive signals to sprout and grow into new plants. Each sprout that emerges from an eye can become a new potato plant. It is essentially a clone of the parent plant.
Let’s take a detailed look at the 3 ways how to get potatoes to sprout eyes:
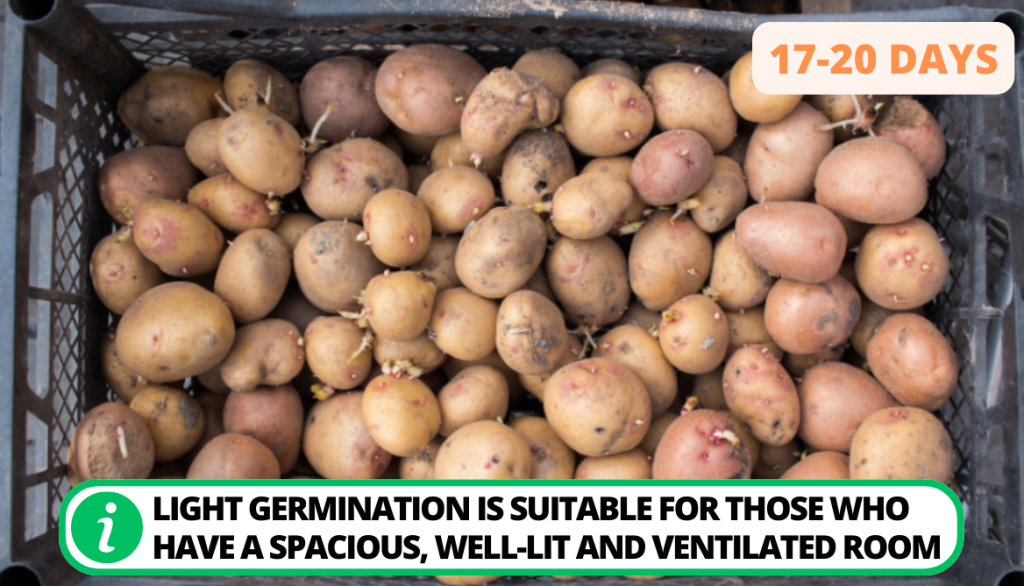
1. Light-Induced Germination: Pre-Planting Phase (17-20 Days)
This germination process is ideal for individuals who have access to a spacious, well-lit, and adequately ventilated room with a consistent room temperature.
Procedure
Here is the procedure for this process:
- Remove long white sprouts from stored seed potatoes.
- Place 2 to 3 tubers in a well-lit spot with room temperature +18-23 °C. Ensure good ventilation.
- Flip the potatoes to expose the darkened areas to light when the first eye sprout appears. Repeat this process for even sprout development.
- The sprouts will be short and dark-colored after 15 to 16 days. Carefully transfer the sprouted potatoes to shipping boxes and plant them in the ground.
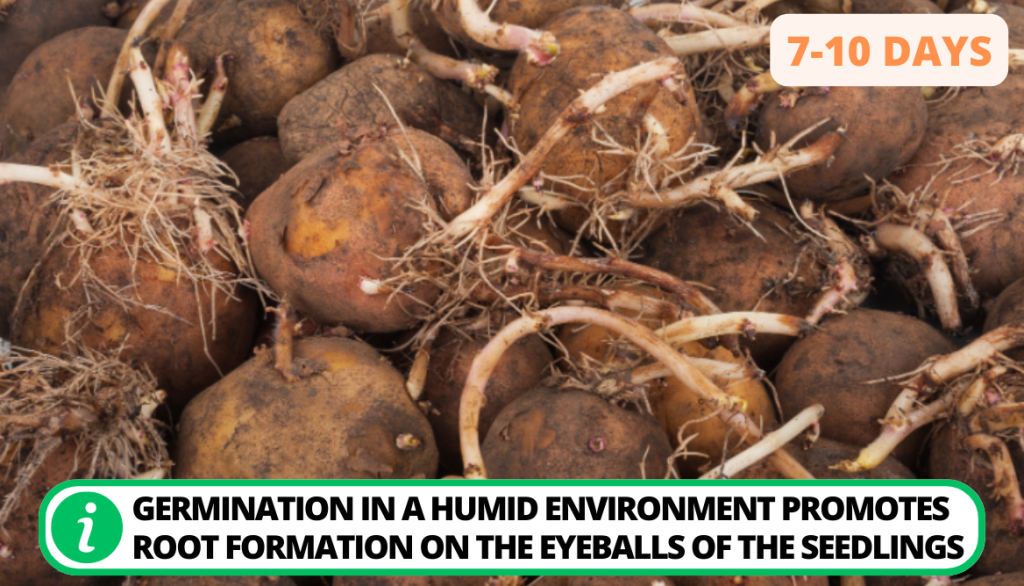
2. Moist Environment Germination (7-10 Days)
This method facilitates root formation on eye sprouts and enhances tuber moisture retention. It is the fastest process and is really beneficial in dry seasons. This approach doesn’t demand a large, brightly lit room.
Procedure
Here’s how to do it:
- Arrange the sprout potatoes in 3 to 4 layers, with wet sawdust or hummus. Store them in wooden boxes or baskets to protect the eye sprouts during transportation to the planting site.
- Water the boxes evenly using a watering can with a sieve. This will make the entire surface moist. If the top layer of potatoes dries out during germination, you can add moisture with time.
- Allow the boxes to sit in a room with a temperature of +14-16 °C for 7 to 10 days.
- It’s time to plant the seed potatoes when the shoots appear.
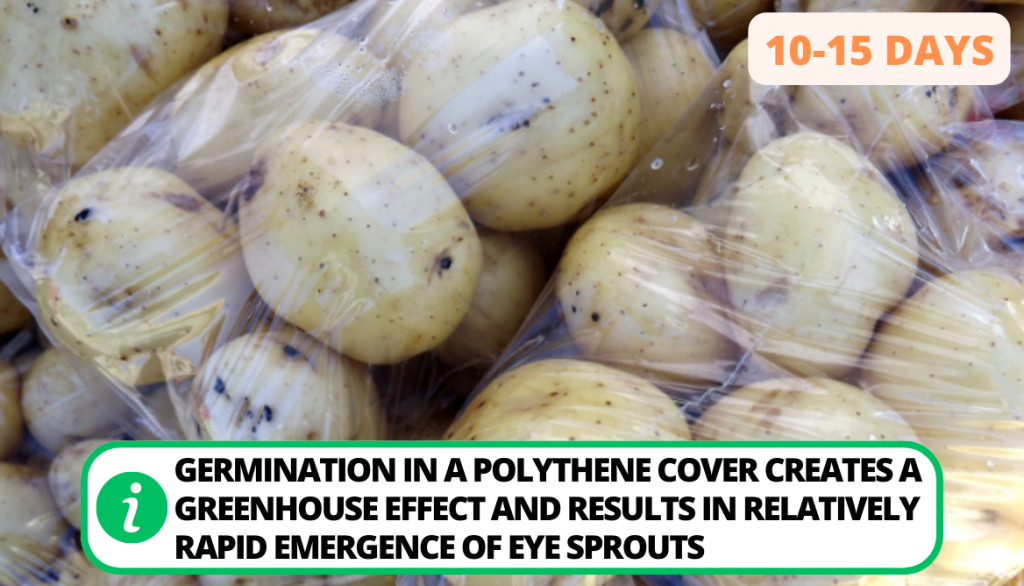
3. Polyethylene-Enclosed Germination (10-15 Days)
The use of translucent small plastic bags creates a greenhouse effect. It is similar to what happens in a greenhouse and results in the relatively rapid emergence of eye sprouts. The bags are also called T-shirts as well.
Procedure
Follow these steps:
- Use scissors to create small ventilation holes in the plastic bags, spaced approximately every 15 to 20 cm.
- Take 8 to 10 and then plant unsprouted potatoes in every bag, tie them securely, and hang them in a well-lit room at room temperature.
- Flip the bags once a day to ensure even exposure to light.
- The sprout potatoes will reach a normal length which is about 2 to 4 cm in about 10 to 15 days. Transfer the potatoes from the bags to sturdy containers like boxes. Prepare them for transportation to the designated drop-off point.
Strategic Timing To Potato Eyes Sprouting
Timing is a crucial aspect of successfully sprouting eyes on potato tubers. The right timing ensures that the sprouts emerge at the ideal stage for planting and result in healthy, productive plants. Here are some strategic timing considerations:
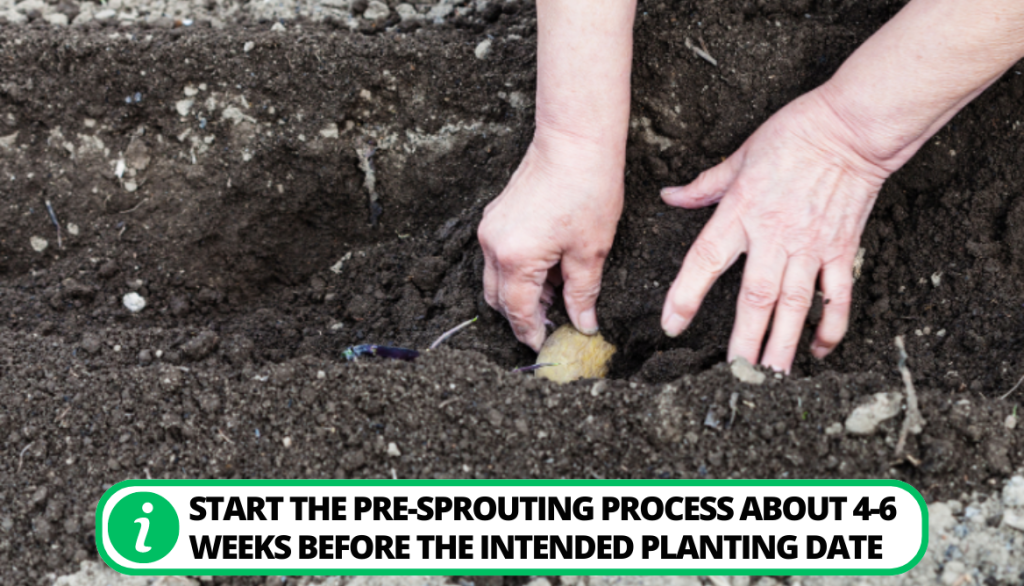
1. Pre-Sprouting (Chitting Potatoes)
Start the pre-sprouting process about 4-6 weeks before the intended planting date. This gives the potato eyes enough time to develop strong sprouts before they are planted in the ground.
Consider the average last frost date in your region and count backward to determine the best time to begin pre-sprouting.
2. Planting Time
Wait until the soil temperature reaches around 45-50°F. Planting the sprout potatoes in colder soil may result in slow or uneven sprouting of the eyes.
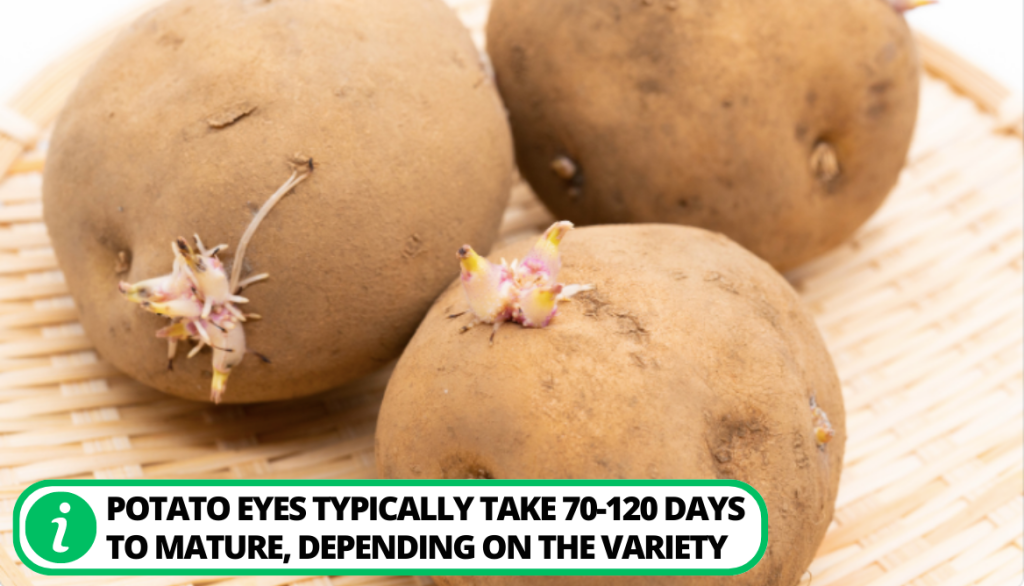
3. Growing Season Duration
Consider the length of your growing season when deciding when to plant. Potato eyes typically take 70-120 days to mature, depending on the variety. Ensure that the growing season is long enough to allow the potato eyes to reach maturity.
4. Harvest Time
Plan the planting time of the sprouting potatoes so that you can harvest potatoes at the desired stage. For new potatoes with smaller eyes and a tender texture, you can harvest them earlier, while for full-sized mature potato eyes, wait until the foliage has died back.
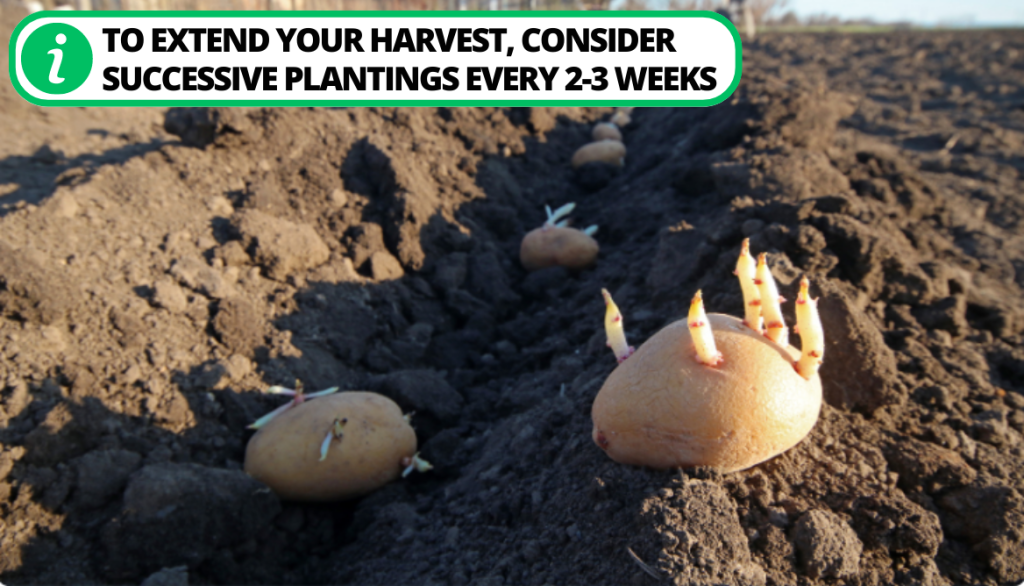
5. Successive Plantings
To extend your harvest, consider successive plantings every 2-3 weeks:
- This staggered approach ensures a continuous supply of fresh potatoes throughout the growing season.
- Strategically timing your pre-sprouting, planting, and harvesting, you can optimize the conditions for successful sprouted eyes.
For further insights, check this video on sprouting eyes on potatoes.
Creating Optimal Environmental Conditions for Sprouting Eyes
Creating optimal environmental conditions for sprouting eyes is crucial to ensure healthy and vigorous potato growth. Here are the key factors to consider, along with subheadings to organize the information:
1. Temperature and Light
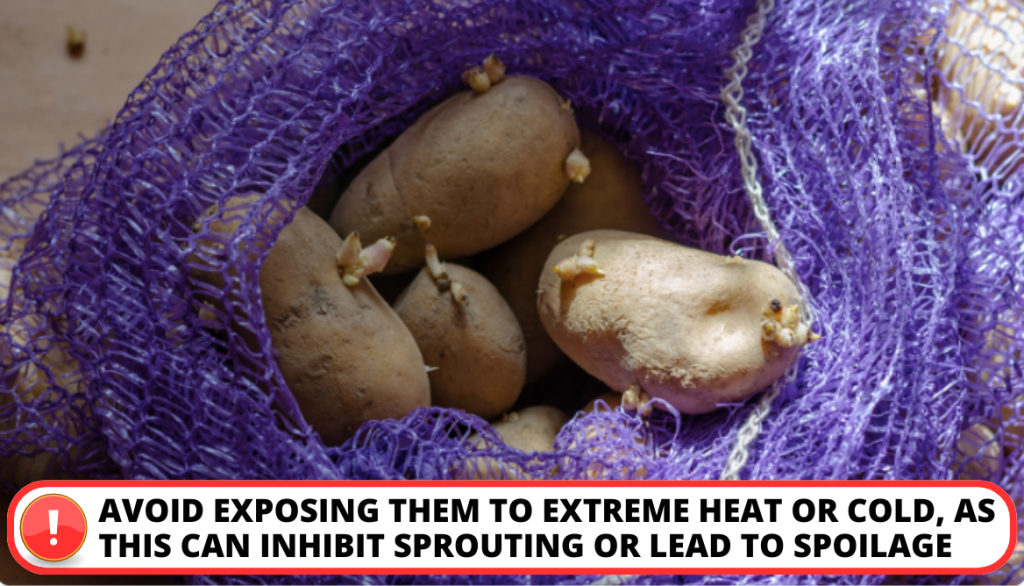
Keep the potatoes at a consistent room temperature of around 65-75°F. Avoid exposing them to extreme heat or cold, as this can inhibit sprouting or lead to spoilage.
Potatoes need some light to produce chlorophyll and green leaves. Direct sunlight can cause greening and the production of toxic solanine. Store potatoes in a cool, dark place to prevent this.
2. Air Circulation and Humidity
Provide adequate air circulation around the potatoes to prevent moisture buildup and potential rotting. Use a well-ventilated area or a shallow tray or basket to store them. High humidity can encourage mold and rot on the potatoes. Ensure the storage area is relatively dry, but not excessively arid.
3. Proper Planting and Spacing
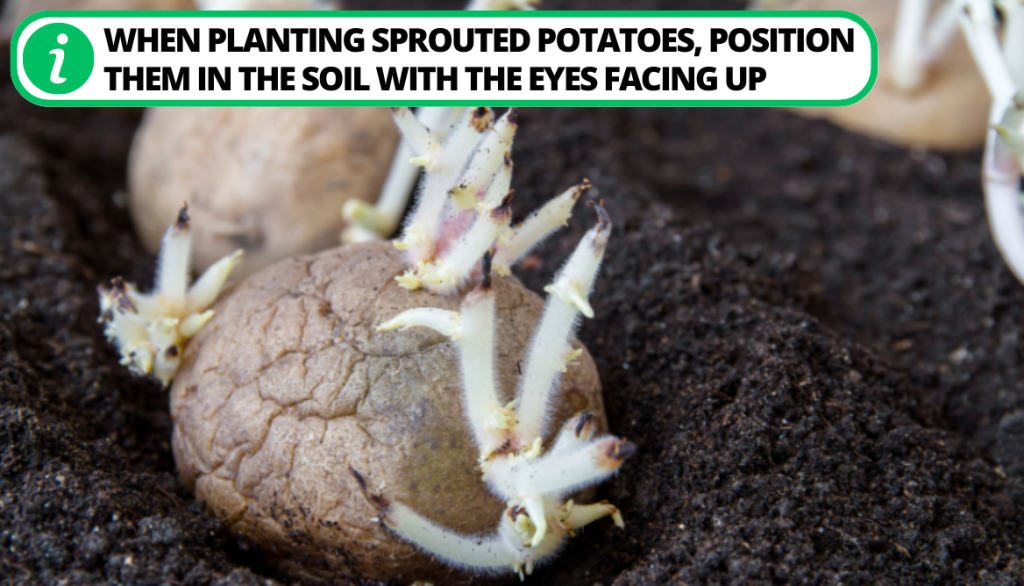
When planting sprouted potatoes, position them in the soil with the eyes facing up. This encourages the sprouts to emerge from the correct side. Provide adequate spacing of about 8-12 inches between each potato. It will allow the plants to grow and access sufficient nutrients and water.
4. Watering and Soil Moisture
Potatoes require consistent soil moisture for healthy sprout development. Keep the soil evenly moist, but avoid overwatering to prevent rotting. Applying a layer of organic mulch around the plants helps retain moisture and regulate soil temperature.
For more details on potato sprouting, check out this helpful video.
Choosing the Right Potato Types
Choosing the appropriate seed potatoes is a crucial step in ensuring successful sprouting. Therefore, you should consider the following factors:
Overcoming Issues with Store-Bought Potatoes
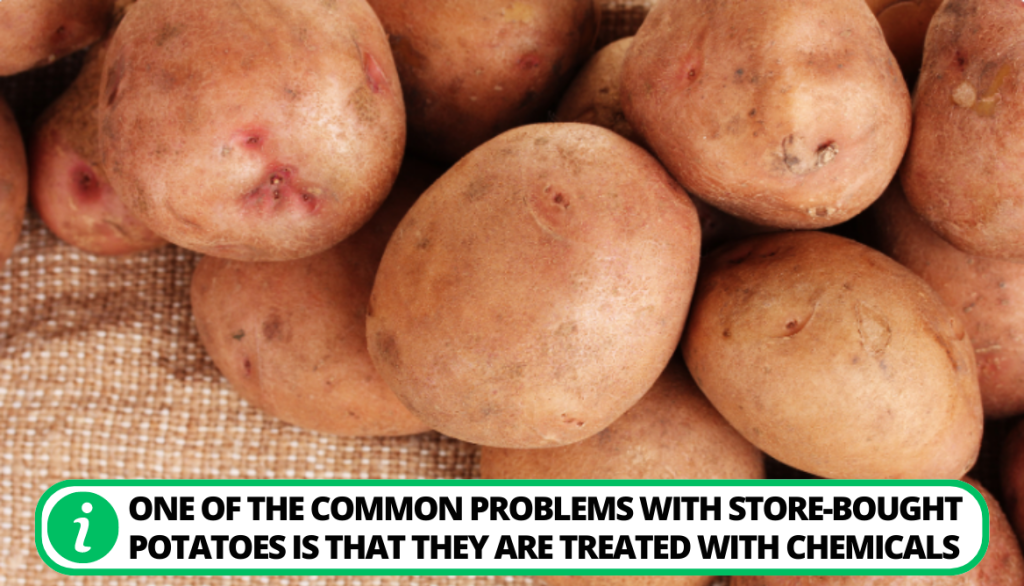
One common issue with store-bought retail potatoes is that they are often treated with chemicals by commercial potato growers.
- These chemicals are applied to prevent the potatoes from sprouting during transportation and on store shelves.
- It hinders their ability to sprout when you want to grow them in your garden.
Another concern with store-bought potatoes is the potential presence of bacteria, fungi, and virus strains.
- These pathogens can easily infect and spread in your garden.
- The introduction of such infections can create an unfavorable environment for healthy gardening.
The Advantages of Organic Seed Potatoes
When it comes to achieving healthy sprouting, organic seed potatoes play a crucial role in reducing the risks of diseases and infections.
Many gardeners find seed potatoes a more cost-effective choice in the long run. Certified seed potatoes offer the advantage of being disease-free.
Guarding Against Pests and Diseases
While potatoes are not naturally resistant to pests and diseases, there are measures you can take to protect and support their growth:
Pests
Potatoes are susceptible to various pests and diseases, including the Colorado potato beetle, potato leafhopper, and wireworms.
1. Colorado Potato Beetle
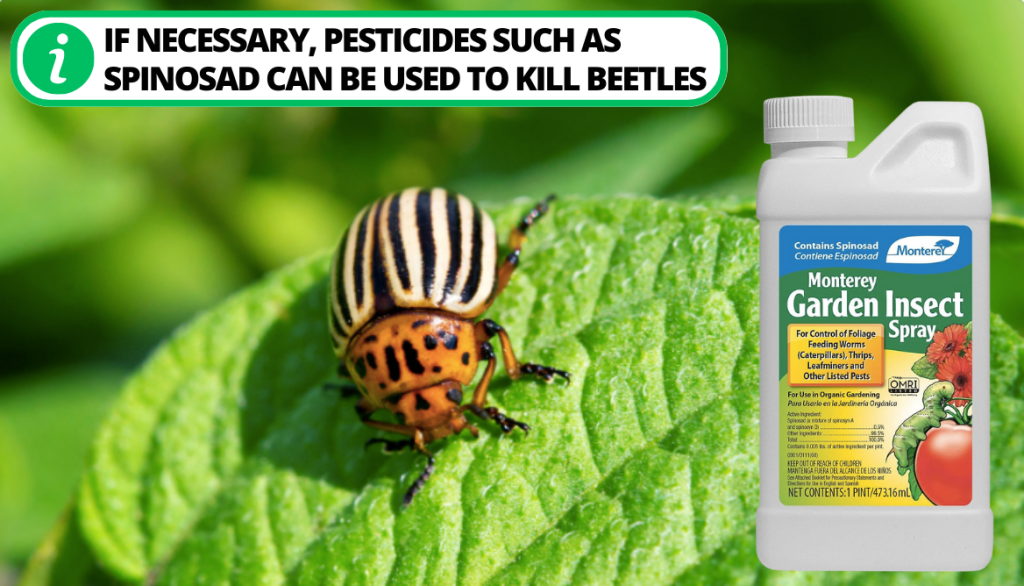
Colorado beetles cause damage by chewing on potato sprouts and leaves. While overwintered adult beetles mainly focus on laying eggs, the larvae are the primary concern. Crop rotation is an effective organic method to control these pests since they do not fly.
If you plant potatoes in different locations each year, it can disrupt their life cycle. Manually removing the beetles is also an option. If needed, you can use pesticides like Spinosad to eliminate them.
2. Potato Leafhopper
Potato leafhoppers extract sap and nutrients from potato plants. As a last resort, pesticides or introducing beneficial insects like ladybugs should be considered.
It’s worth noting that leafhoppers overwinter in garden waste, so removing such materials can aid in reducing their population.
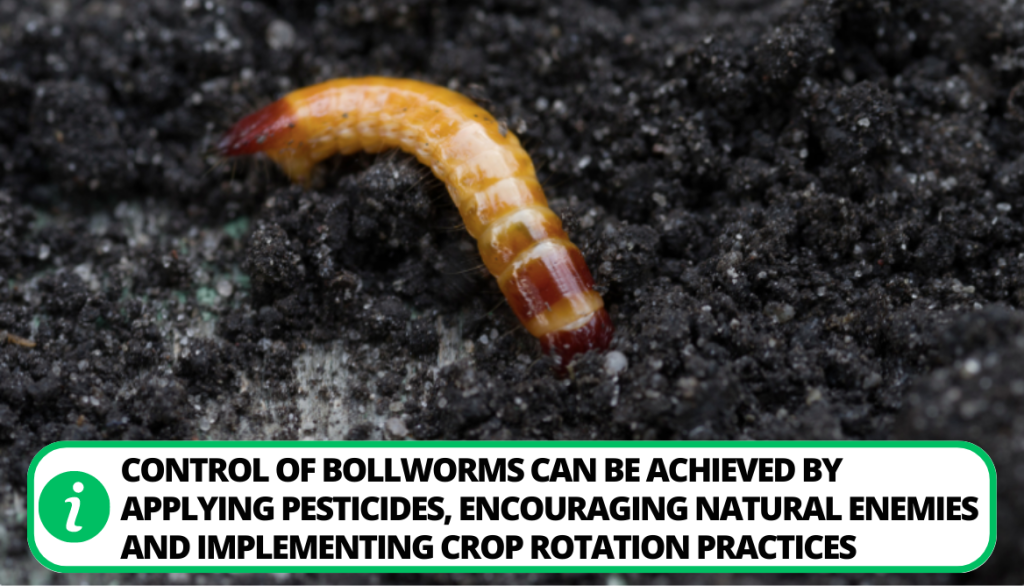
3. Wireworms
Wireworms are particularly troublesome pests that attack seed potatoes, roots, and tubers. Managing their presence can be achieved through pesticide applications, promoting natural enemies, and implementing crop rotation practices.
A creative approach involves burying halves of potatoes about an inch deep and checking them after a day or two to remove any wireworms found.
Deseases
Potato blight and potato scabs are two significant fungal infections that can cause severe damage to potato crops.
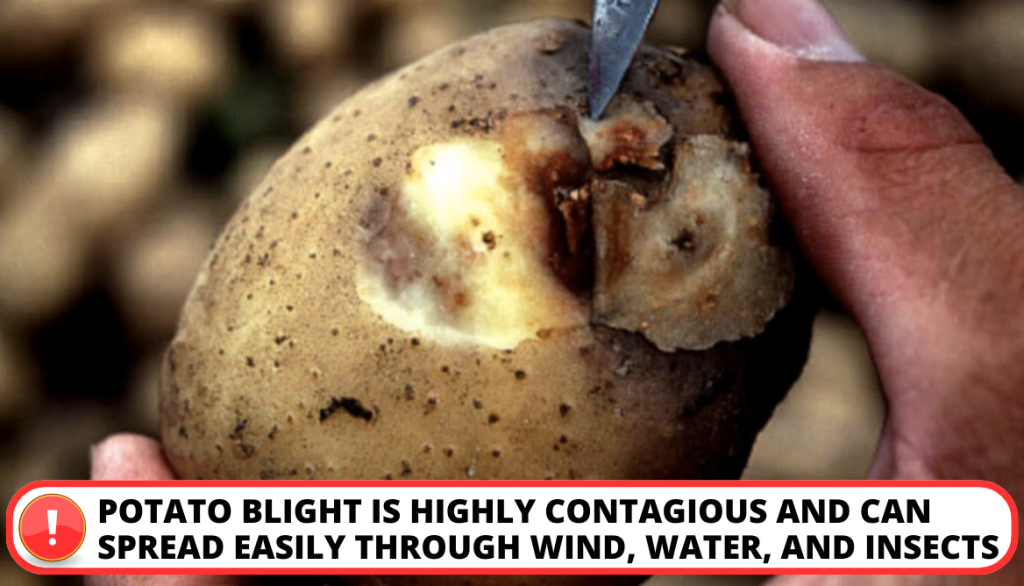
1. Potato Blight
Potato blight is highly contagious and can spread easily through wind, water, and insects. This rapid transmission can lead to the widespread infection of nearby gardens and potato plants.
2. Potato Scab
On the other hand, potato scabs are more visually apparent. They are characterized by raised dark brown patches resembling warts on the potato surface.
- The infection is typically spread through water, wind, and contaminated farming equipment.
- Both of these diseases (Blight and Scab) have the potential to build up fungal spores in the soil over time, creating a persistent problem.
- In areas suspected to be infected, it is crucial to take precautions and avoid planting potatoes for at least 3 years. This period allows for the soil to naturally recover and reduces the risk of further contamination.
5 Handy Tips For Successfully Storing Potatoes Long-Term
If you want to store potatoes and want success, then follow these tips:
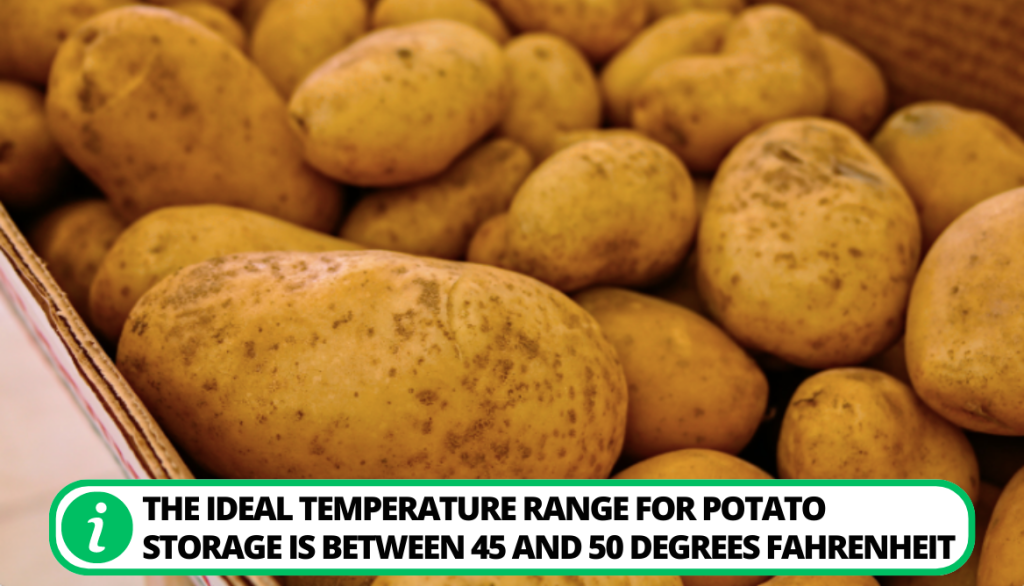
- Store potatoes in a cool, dry place to ensure their longevity.
- The ideal temperature range for potato storage is between 45 and 50 degrees Fahrenheit.
- Basements or garages are suitable locations for storing potatoes.
- Refrigerators or freezers can also be used to store potatoes for up to three months.
- Consider creating a root clamp by digging a hole in the ground and lining it with hay and straw. This method provides a cool environment for potatoes and can extend their storage life to three months.
FAQ
What is the fastest way to get potatoes to sprout?
The fastest way to get potatoes to sprout is by exposing them to bright indirect light. Place them in a well-lit area, and they will start sprouting in no time. Remember not to eat sprouted potatoes as they might contain higher levels of certain toxins like solanine.
Do potatoes sprout in light or dark?
Potatoes sprout in light. Exposing them to bright indirect light triggers the sprouting process.
What causes potatoes to sprout eyes?
Potatoes sprout eyes due to a natural physiological response triggered by exposure to light. This process stimulates the growth of sprouts from the eyes of the potato.
Under what conditions do potatoes sprout the fastest?
Sprouting is fastest when they are exposed to sunlight for more than 4 weeks after the harvest. Soil temperature is around 45-50 degrees Fahrenheit and the environment is moist. It provides optimal conditions for germination and sprout growth.
Why won’t my potatoes sprout?
Potatoes may not sprout due to several reasons, including Inadequate light exposure, low soil temperature, improper storage conditions, and using potatoes treated with sprout inhibitors.
Conclusion
Now, that you have learned the secrets of sprouting eyes on seed potatoes, it will be much easier for you to do it yourself. Remember that timing is key! Pre-sprout your potatoes in advance and plant them when the soil temperature is just right. For optimal results, create the perfect environment for sprouting, considering factors such as temperature, light, air circulation, and humidity.
Selecting the right potato types will significantly reduce the risk of diseases and infections, promoting healthier sprouting and growth in your garden. Don’t forget to guard against pesky pests and diseases. Use proper storage techniques to extend the life of your potatoes and enjoy their deliciousness long beyond the harvest season.
What type of light source do you use for your potatoes? Share your methods in the comments!

I've been passionate about gardening since the early 1990s, and in 2022, I launched You Can Do It Gardening to empower individuals to feel more confident in their gardening endeavors.
Following a 30-year career in nonprofit finance and operations, I transitioned out of that field in mid-June of 2023 due to the growing demand for coaching services. Interestingly, my years of presenting financial statements to boards and finance committees proved to be valuable experience for teaching people about gardening! I enjoy sharing skills, providing guidance and suggestions, and collaborating efficiently with clients to make significant improvements to their outdoor spaces, both small and large. I also regularly teach at the Arlington Continuing Education and Cambridge Adult Education.
My approach is direct and practical, akin to Mary Poppins, but tailored to your garden. Clients find satisfaction in saving money and taking pride in their own gardening achievements.
- How to Get Potatoes to Sprout Eyes: Detailed Growing Guide with 3 Options - July 31, 2023
- Weight of a Medium Potato: Revealed in Detailed Guide - July 29, 2023
- Maris Piper Potatoes: 9 Substitutes You Should Know About - July 27, 2023
Hello! I’m Jessica Zander, a garden coach and consultant based in the Boston area (zone 6b), offering virtual consultations across the country and Canada.
I’ve been passionate about gardening since the early 1990s, and in 2022, I launched You Can Do It Gardening to empower individuals to feel more confident in their gardening endeavors.
Following a 30-year career in nonprofit finance and operations, I transitioned out of that field in mid-June of 2023 due to the growing demand for coaching services. Interestingly, my years of presenting financial statements to boards and finance committees proved to be valuable experience for teaching people about gardening! I enjoy sharing skills, providing guidance and suggestions, and collaborating efficiently with clients to make significant improvements to their outdoor spaces, both small and large. I also regularly teach at the Arlington Continuing Education and Cambridge Adult Education.
My approach is direct and practical, akin to Mary Poppins, but tailored to your garden. Clients find satisfaction in saving money and taking pride in their own gardening achievements.
Add comment