What do potato plants look like when ready to harvest? If you are looking answer to this query, you are in the right place! Growing potatoes is not a simple task as many factors like temperature and soil have to be taken care of. Having a basic knowledge of harvesting can help make the whole process easier.
Read on as we will be discussing the type of potatoes when to harvest them and how to grow more tubers. Let’s get started!
Contents
Harvesting Potatoes: When is the Best Time?
Harvesting potatoes is a bit complicated process as the duration of maturity can vary for early potatoes and mature ones. Also, some gardeners leave the potatoes in the ground to save storage space. They can easily stay in the soil for a couple of months. Mentioned below is the ideal harvesting time.
1. Harvesting the New Potatoes Grown from Seed Potatoes
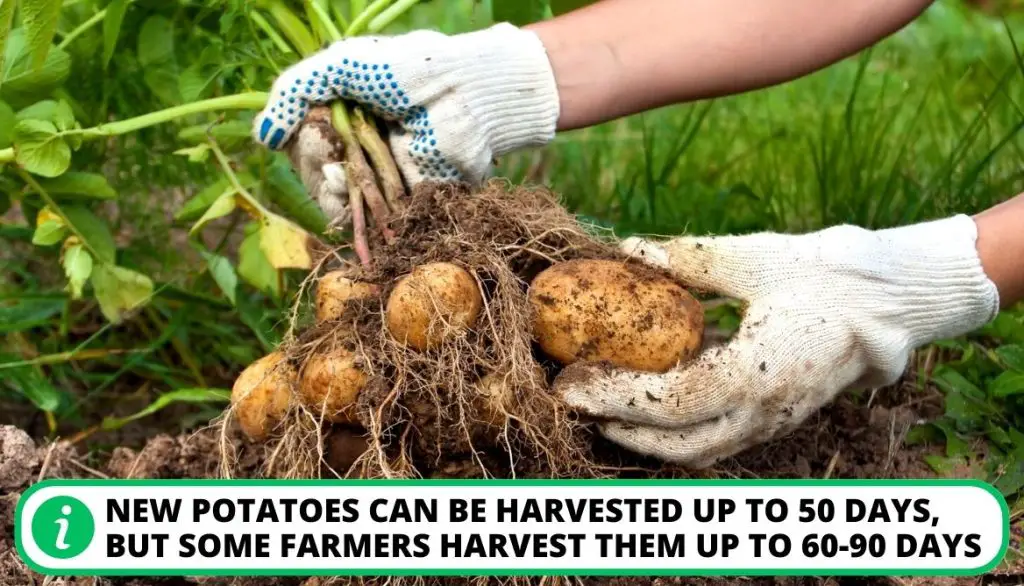
New potatoes can be taken out before 50 days, but some farmers harvest them before the 60 to 90 days mark. If you have planted them in early March or start of April then the best harvest time is May as a summer crop.
Planting them later may result in an increase in temperature (16 to 21 degrees centigrade) than the average range (60 to 70 degrees Fahrenheit).
2. Storage Potatoes Ready for Harvesting
These storage potatoes are also called “main-crop potatoes” and they are ready to harvest when the foilage hard developed a yellow color or is dried. Once these signs have been observed, it is recommended to wait for a minimum of 14 days to cure potatoes. They will be mature by then and you are ready to dig potatoes.
What do Potato Plants Look Like When Ready to Harvest: Identifying the Indicators
If you are planting potatoes in your garden or backyard then you need to know the indications of harvest. When potatoes are produced or they are ready to be picked they show some signs. Here are two major indicators and their meaning. Let’s find out!
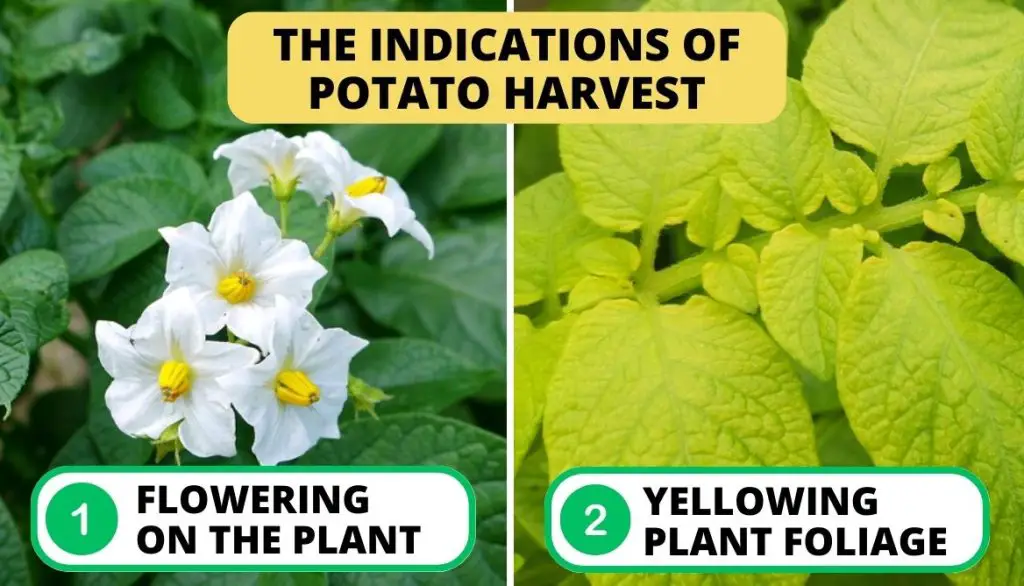
1. Flowering on the Plant
If you notice flowering on the potato plant then it is a sign that seed potatoes are growing and they will be ready soon. Harvesting can be done after 2 weeks of flowering.
2. Yellowing Plant Foliage
Do not be alarmed if you notice the foliage turning yellow and falling. It is different than green potatoes. This is very normal for potato plants when they are preparing for a harvest.
If you have planted according to routine then the wilting will occur in July. Although, the maincrop potatoes can stretch till September or October.
For more insights, check out this video.
2 Best Methods to Harvest Potatoes
Harvesting is a tedious job and it requires technique and patience. Let’s learn about it below:
1. New Potatoes Grow Cycle and Harvest
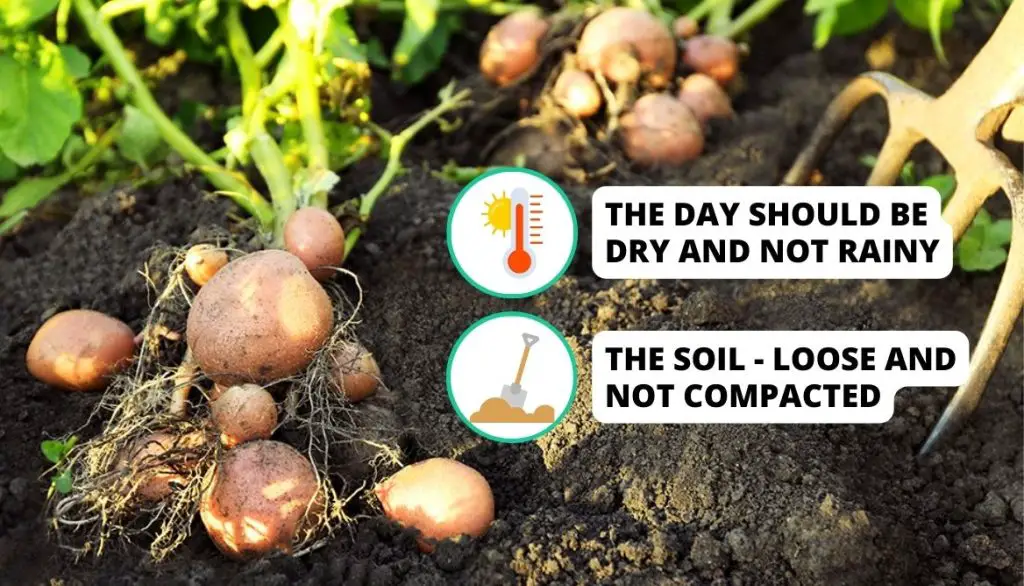
To harvest new or early potatoes, you need to ensure that two conditions are met. First, the day should be dry and not rainy. Second, the soil needs to be loose and not compacted due to watering.
Choose a container you can carry into the field. A bucket is easy to carry around and it can handle the weight of the new potatoes. But pay attention, the container should be completely dry. Also, bring a short spade/fork. It is an excellent tool to uproot the plant.
Follow the steps below to easily harvest the early potatoes without much trouble. Let’s dig in!
- Step 1: Start by digging about 12 inches (30cm) from the side of the plant. This allows you to create a leverage point on the soil.
- Step 2: Now, thrust the spade in gently and uproot the whole plant. With this calculated uprooting technique you can get most of the potatoes in excellent condition out of the ground.
- Step 3: Start removing the potatoes from the roots. With a rough clean, you can get rid of most of the soil. Do not completely clean the soil off of them.
- Step 4: Now you need to keep them in the container but do not toss or throw them. Impacts on the outer layer will cause rot or blackening due to a bruise.
- Step 5: Check thoroughly for any potatoes that you might have missed while harvesting new potatoes.
- Step 6: Do not harvest the large potato (mother potato). Instead, discard it. Caution: No need to eat potatoes of this type!
- Step 7: Once done with one plant, move to the next.
2. How to Harvest Storage Potato Crops?
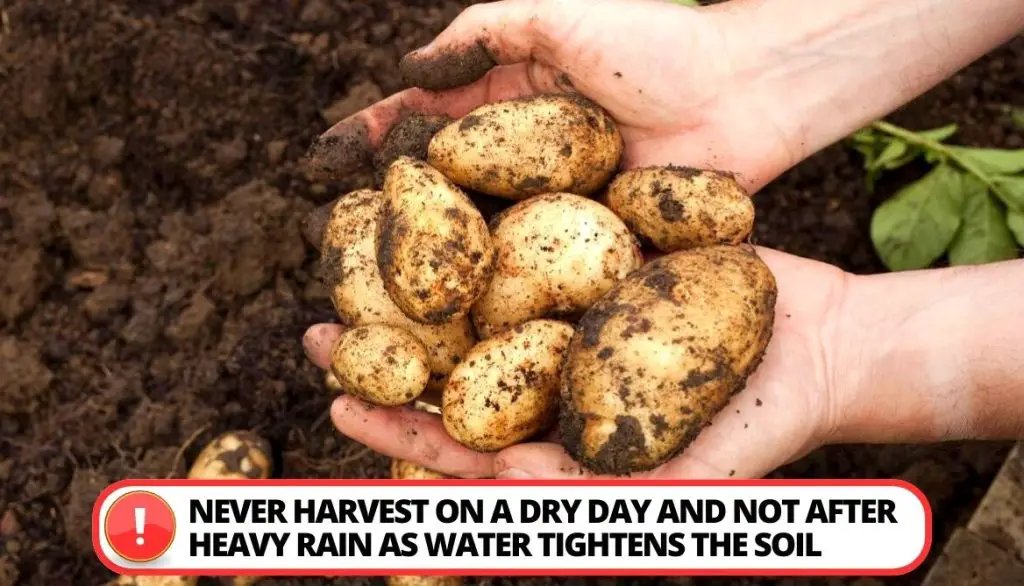
Never harvest on a dry day and not after heavy rain as water tightens the soil and makes it very hard to take out the potatoes. Instead, morning is the best time to take out the stored potatoes.
Opt for a metal bucket o harvest mature potatoes. Put some hay, crumpled newspapers, or straw to add some cushioning before taking out the potato crop. Follow the next steps to harvest the maincrop potatoes stored. Let’s check it out!
- Step 1: Use a spade or a garden fork for freshly dug potatoes to separate the soil from the potatoes.
- Step 2: Now harvest the potatoes, position the fork correctly at least 12 to 16 cm away from the base of the plant (30 to 45 cm).
- Step 3: Using the soil as leverage, put the back of the fork on the soil, dig in, and gently lift it. You will notice that the soil quickly breaks, exposing the potatoes.
- Step 4: Separate the main crop potatoes from the roots carefully.
- Step 5: Then remove any cut, bruised, or pierced ones from the healthy potatoes.
- Step 6: Do not throw the potatoes in the basket. Instead, put them in gently.
- Step 7: Re-check the whole row to find any new potatoes you could have missed while picking.
You can also watch this helpful video on harvesting!
Duration of Maturity: When to Harvest Potatoes?
The time duration to harvest potatoes can vary depending on how early or late you are planning to take them out. Also, you can harvest them after even 2 months but it’s all about preference. Here are the stages according to the days. Let’s learn more!
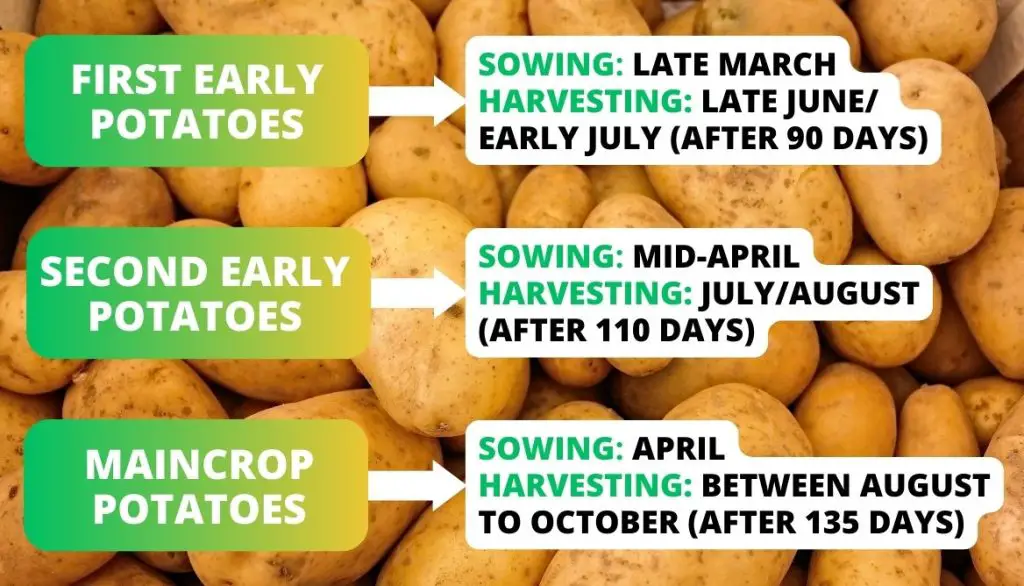
Starting Season: First Early Potatoes
If you are aiming to harvest early potatoes then sowing occurs in late March. The ideal harvest tie is after 90 days occurring in late June or early July.
Mid-Season: Second Early Potatoes
For a mid-season (second-early potatoes) harvest, you need to sow during mid-April. After 110 days, the harvest is ready in July/August.
Late Season: Maincrop Potatoes
If you are planning to let the mature potatoes take their time then sowing can be done in April. And the harvesting of such types of potatoes can be done after 135 days during the fall season between August to October.
Boosting the Production of More Potato Tubers
Multiple factors contribute to the growth of tubers. Soil quality, sunlight, weather, prevention of pests, and similar aspects contribute to the quick growth of the potato plant. Here are some factors that will help you grow the potato plants quicker!
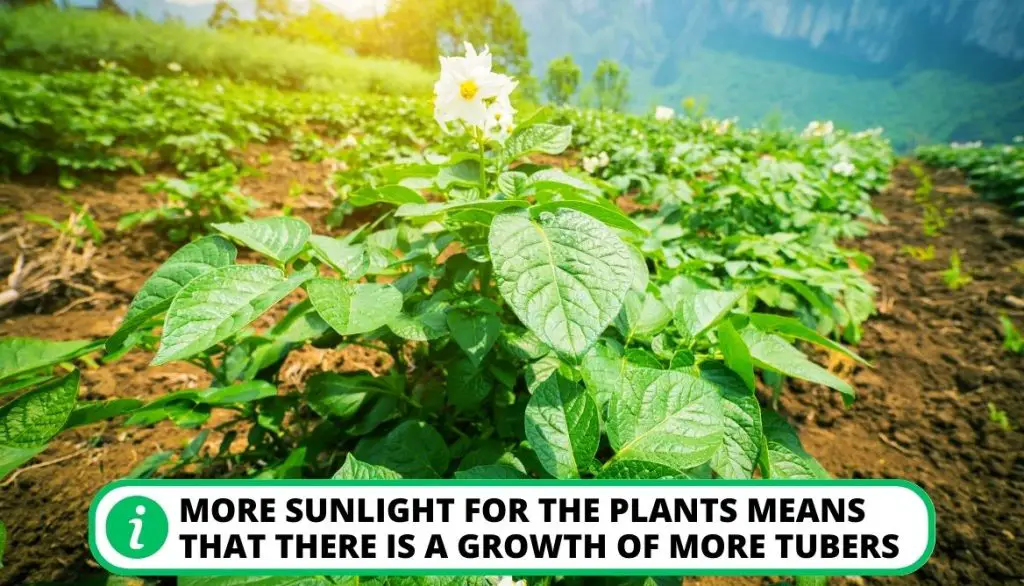
1. More Sunlight for Enhanced Growth
Potatoes plants need photosynthesis to produce tubers. Tubers are sunlight converted into carbohydrates and stored.
More sunlight for the plants means that there is a growth of more tubers. Do not expose the plant for more than 8 hours as it will result in damage to the leaves of the plant.
2. Add Nutrient-Rich Soil for Accelerated Growth
You need to plant potatoes in nutrient-rich soil. It is essential for their growth. Listed below are the important nutrients:
- Organic matter,
- Phosphorus (P),
- Potassium (K),
- Calcium (Ca),
- Magnesium (Mg),
- Zinc (Zn),
- Boron (B).
3. Stop Pruning the Leaves!
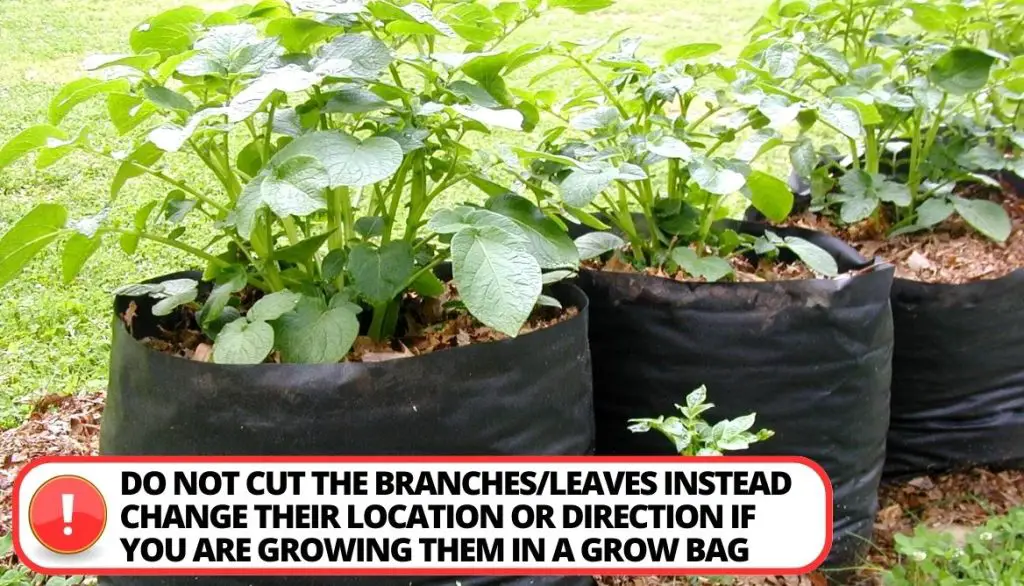
If you want your potato plant to produce several tubers then the plant needs to have many leaves. There are a lot of ornamental plants that need regular pruning but this cannot be done with potato plants. They need to absorb more sunlight.
Do not cut the branches/leaves instead change their location or direction if you are growing them in a grow bag at home.
4. Prepare for Any Pest Attacks on Your Potato Plants
Like other plants, potatoes also have a risk of being attacked by pests. Insects like spider mites, beetles, caterpillars, and other pests target the leaves and consume them by making holes in them. Cutworms, groundhogs, and other insects burrow in the ground and damage the tubers growing deep in the soil.
In order to protect your plant, opt for the following measures:
- Using Emesto® Silver for seed treatment.
- Prefer disease-resistant seed potato.
- Use the crop rotation method.
- Use slug-killing nematodes.
5. Using the Beds and Sacks Method for Growing the Planted Potatoes
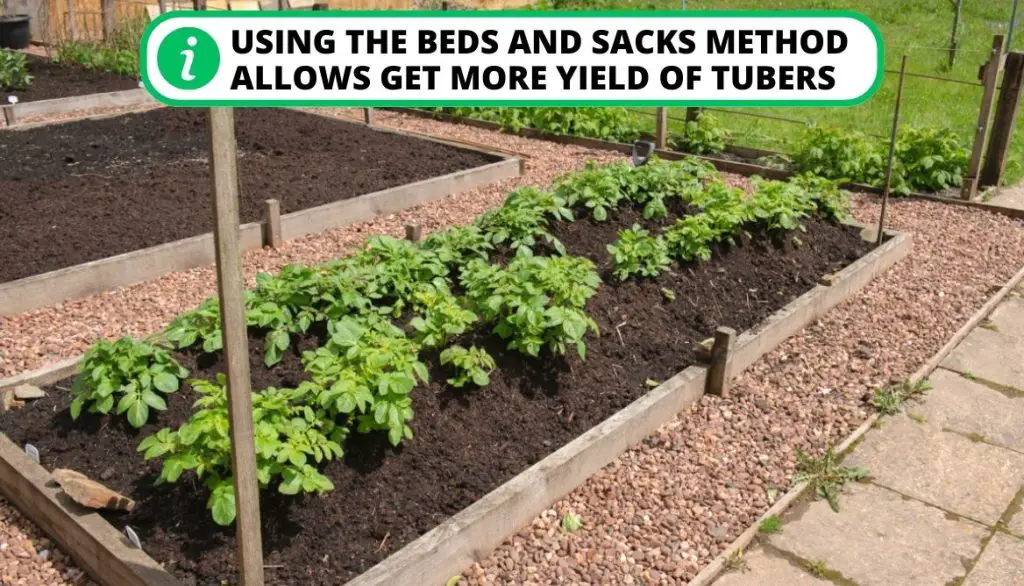
Most gardeners grow potatoes in beds or sacks as a method to grow them in a tight or limited space:
- This is a genius trick used to grow potato plants in loose soil containing more nutrients.
- This way you get more yield of tubers as the roots of the plant are evenly covered in nutrient-rich soil.
- Also, you can always add more soil to grow new plants in this kind of setting.
6. Covering the Potato Stems Regularly Promotes Growth
A quick tip to grow more tubers on a potato plant is by covering the stem:
- With regular cover, they tend to grow more tubers ultimately producing a large amount of potatoes.
- You need to cover the stems after four to five weeks after they have been planted.
- This process has to be repeated until the level of soil you are adding reaches 8 inches.
7. Loose Soil is Ideal for the Fast Growth of Potato Plants
In loose soil type, the tubers have enough space to multiply and the roots can also spread in the empty spaces they find. You will also notice that compacted soil produces very small sized tubers compared to loose soil.
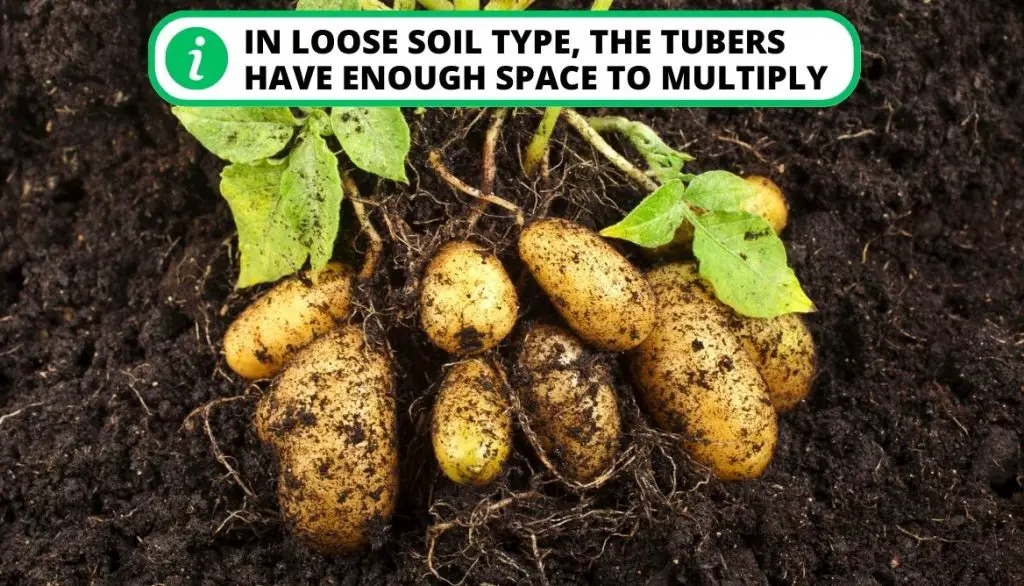
You need to inspect the soil and ensure that it is loose enough for the potato plant to grow easily. How should you do this?
- Water the soil and notice if the water drains quickly or stays on the surface for long hours.
- If the absorption process is taking longer than expected then you need to loosen the soil
- Take out the excess soil adding some perlite, sand, and other additives to loosen the soil.
FAQ
How Can You Tell When Potatoes are Ready to Pick?
When the potatoes are ready to pick, you will notice the dieback. This is a confirmed sign that now you can pick the potatoes and they are full of nutrients.
How Does a Potato Plant Looks Like?
Potatoes look like white ivory-colored stems. You can notice some roots growing along the length although most are clustered at the bottom of the plant.
How Long Does the Average Potato Harvest Take?
On average a potato harvest can take variable timings. For example, early potatoes can be taken out after 60 days. Mid-season is usually after 80 days and late-season is expected around 90 days.
Can You Leave Potatoes in the Ground Too Long?
You can leave the potatoes in the ground after you have witnessed a dieback. They can remain in the soil for a duration of 2 to 3 months without any problem.
What Do Potatoes Look Like After Harvest?
After harvest potatoes look soft and their skin is delicate. You need to let them cure so that the potato skins can harden and any cuts will seal. They need temperature conditions of 45 to 60 degrees Fahrenheit lasting more than 2 weeks.
Conclusion
New potatoes are harvested early, typically around 50 to 90 days after planting and you need to ensure ample spacing and loose soil with enough nutrients. Storage potatoes are ready to harvest when the foliage had developed a yellow color or is dried. Also, an inspection for pests and the duration of storage need to be kept in check.
Which potato variety do you have on your farm and when do you prefer to harvest potatoes? Let us know in the comments below!
- How to Get Potatoes to Sprout Eyes: Detailed Growing Guide with 3 Options - July 31, 2023
- Weight of a Medium Potato: Revealed in Detailed Guide - July 29, 2023
- Maris Piper Potatoes: 9 Substitutes You Should Know About - July 27, 2023
Hello! I’m Jessica Zander, a garden coach and consultant based in the Boston area (zone 6b), offering virtual consultations across the country and Canada.
I’ve been passionate about gardening since the early 1990s, and in 2022, I launched You Can Do It Gardening to empower individuals to feel more confident in their gardening endeavors.
Following a 30-year career in nonprofit finance and operations, I transitioned out of that field in mid-June of 2023 due to the growing demand for coaching services. Interestingly, my years of presenting financial statements to boards and finance committees proved to be valuable experience for teaching people about gardening! I enjoy sharing skills, providing guidance and suggestions, and collaborating efficiently with clients to make significant improvements to their outdoor spaces, both small and large. I also regularly teach at the Arlington Continuing Education and Cambridge Adult Education.
My approach is direct and practical, akin to Mary Poppins, but tailored to your garden. Clients find satisfaction in saving money and taking pride in their own gardening achievements.

Add comment