
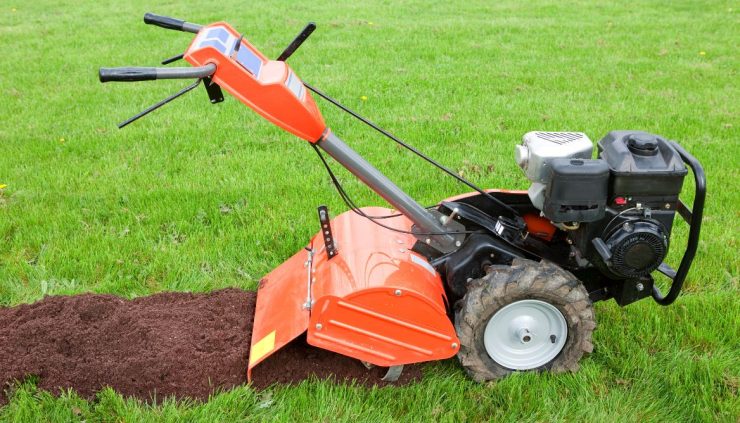
Tillers are usually used in gardens to break up loose soil. But a question that many people ask is can you use a tiller to level ground for pavers? This article will provide you with detailed answers to this question along with the important features of a tiller, types of tillers, steps on tilling your new garden ground for pavers, and more.
Let’s get started!
Contents
Guide to Tilling for Pavers
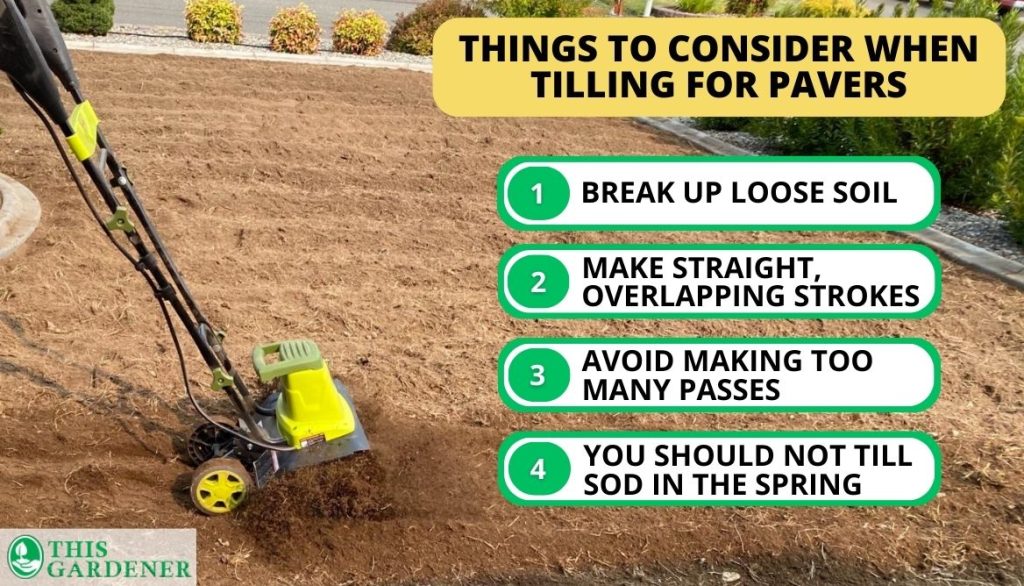
Tillers can be used for leveling the ground before pavers are used. So it can be said that it is a necessary part of the paving. Here are a few things to consider:
- Use the tiller to break up loose soil. It is used to prepare the soil for paving or planting.
- While tilling, make straight, overlapping strokes to cover as much territory as possible and to avoid leaving any patches of unworked soil so pavers can be installed properly.
- Avoid making too many passes with the tiller, as doing so can damage the soil you’ve previously worked with. This is especially true of the bottom layer.
- You should not till sod in the spring because doing so can cause the grass below to grow back.
Steps on How to Till Your Garden
The first thing is making sure the soil is in the correct condition to till. It should be dry, as wet one will clump and hard lumps will form, making it difficult to break up the soil. Also, make sure to read the instruction manual of the tiller before operating it.
Here is a step-by-step guide on how to till your garden:
Step 1: Prepare the Ground by Removing Any Debris
Make sure no large objects are hiding under the surface. Any thick weeds that the tiller tines could become entangled in should be removed before you start tilling. Any small weeds may be ignored because the machine will take care of them.
Step 2: Choose the Correct Depth
Select the right depth and adjust the tiller accordingly. A shallow setting is usually preferred when working with dirt that is relatively hard and dense. However, using your tiller on its medium setting is preferable for softer soil.
Step 3: Take Protective Measures
Be sure to wear protective glasses and sturdy boots to make the job easier.
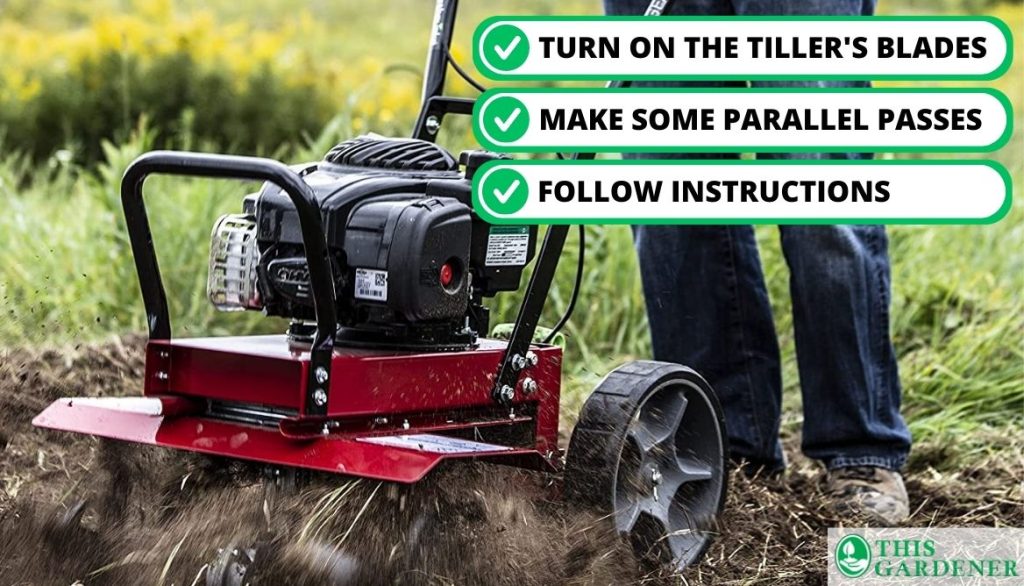
Step 4: Turn on the Tiller
Turn on the tiller’s blades first. The next step is to carefully make some parallel passes across your garden. Some producers advocate for a combination of straight and overlapping passes. According to the manufacturer’s instructions, there may be a certain sequence you might need to follow.
Step 5: Change the Tiller Setting to the Deepest
You can adjust the tiller to its deepest setting after you’ve finished tilling the yard. After that, you can perform perpendicular passes for a more complete cleanup. Walk leisurely while operating the tiller; the machine will take care of the work for you now.
Step 6: Continue Tilling the Soil
Keep tilling the soil over until any organic matter is thoroughly combined with it. A right depth of 8 inches is recommended for optimal results. Then, wait a few days so it can absorb the organic matter.
Step 7: Aerate the Soil
The soil needs to be supplied with oxygen. You can do this by running the tiller back and forth across the yard many times in a medium-depth setting. The soil’s necessary nutrients will be better blended as a result of this action.
Step 8: Make a Few Final Passes
Finally, operate your tiller on the deep setting again and perform perpendicular passes.
This video “How to Use a Front Tine Tiller” is sure to help if you require further assistance.
Important Features of a Tiller
Tillers help prepare the soil and mix nutrients into it so your plants grow healthily. Thus, they have certain features that will help you in doing so. Let’s learn about them:
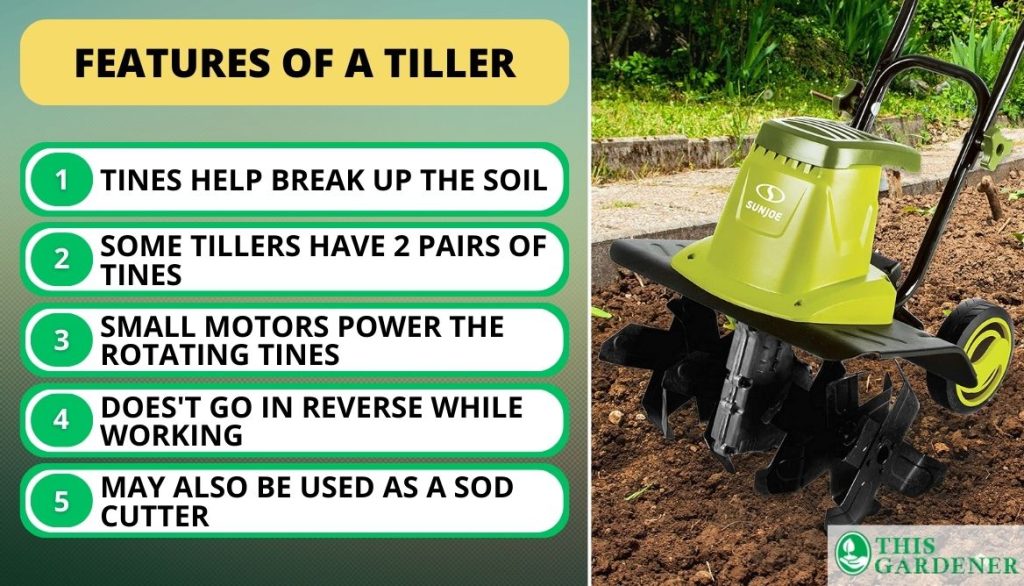
- They have tines, which are small blades that help break up the soil.
- Some tillers have 2 pairs of tines, which rotate opposite to each other, helping to break up the soil as well as dig it.
- They also have small motors which power the rotating tines.
- Tillers are specially made to not go in reverse while in operation, as this could severely harm the user, although they can be pulled back manually.
- A tiller may also be used as a sod cutter.
When Should You Use a Tiller?
Here is a breakdown of using Tiller:
Fall
A rototiller is most useful in the fall. Using the rototiller now gives the soil amendments time to settle in and decompose over the next winter. Prepare the soil now so that you can plant in it next spring.
Also, you should have your vegetable garden bed tilled and ready to go for planting cool-weather crops like broccoli or cabbage as soon as it is safe to do so.
Spring
In the spring, you can use a rototiller to prepare the ground for a brand-new garden. In general, the soil should be about 60 degrees Fahrenheit and slightly dry before you till it. A soil thermometer can be used for this purpose.
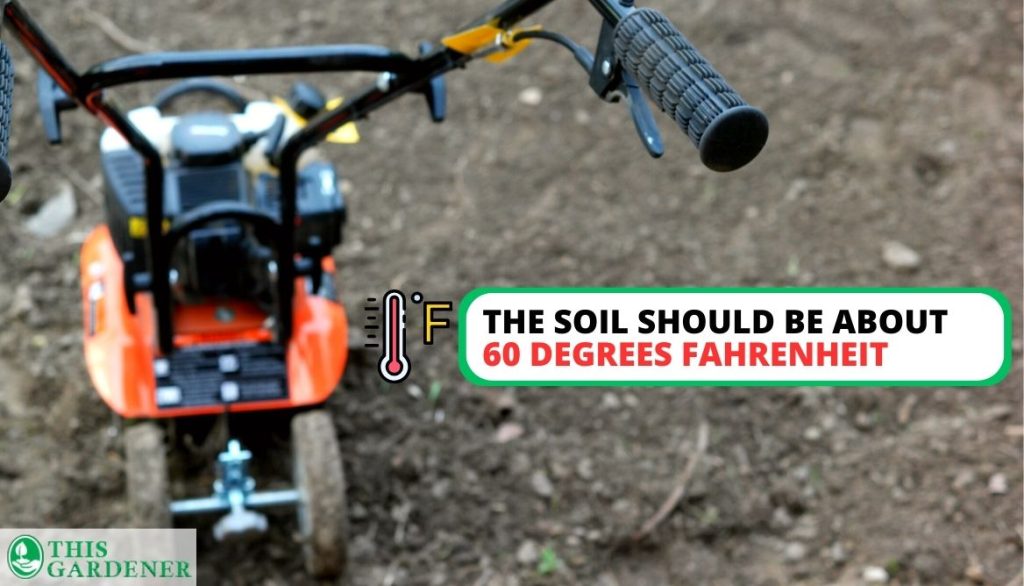
Squeezing a handful of soil is a quick and straightforward approach to checking moisture levels. If it flakes apart when you squeeze it, it’s ready to be tilled.
Preparing Your Ground for the Tiller
Before you use your tiller on the soil, the soil needs to be prepared so that the tiller operates and does the job properly.
1. Wear Proper Safety Gear
Get familiar with the machine’s controls by reading the handbook first. Be sure you’re outfitted with the right safety gear. Wearing protective eyewear, a long-sleeved shirt, and long pants are recommended by most manufacturers for your safety.
2. Clean the Soil
Make sure there are no stones, big weeds, or sticks in the soil as these may get caught up in the tines of the tiller and may damage it.
3. Use a Sod Cutter
Run a sod cutter over the area to break up the old roots if you’re leveling the ground to replace bad grass or sod that’s already growing.
Leveling the Ground for Pavers Using a Tiller
Having removed any unnecessary items, you can now use the machine to smooth out the soil. It’s important to plan out how deep you’ll dig and polish the surface afterwards.
The majority of tillers may be adjusted in height to suit the user’s preference. It’s up to you how deep into the ground you want to go with the blade. A tight, stiff yard calls for the highest setting. In contrast, a medium setting is visible if the ground is soft and/or considerably loosened, to begin with.
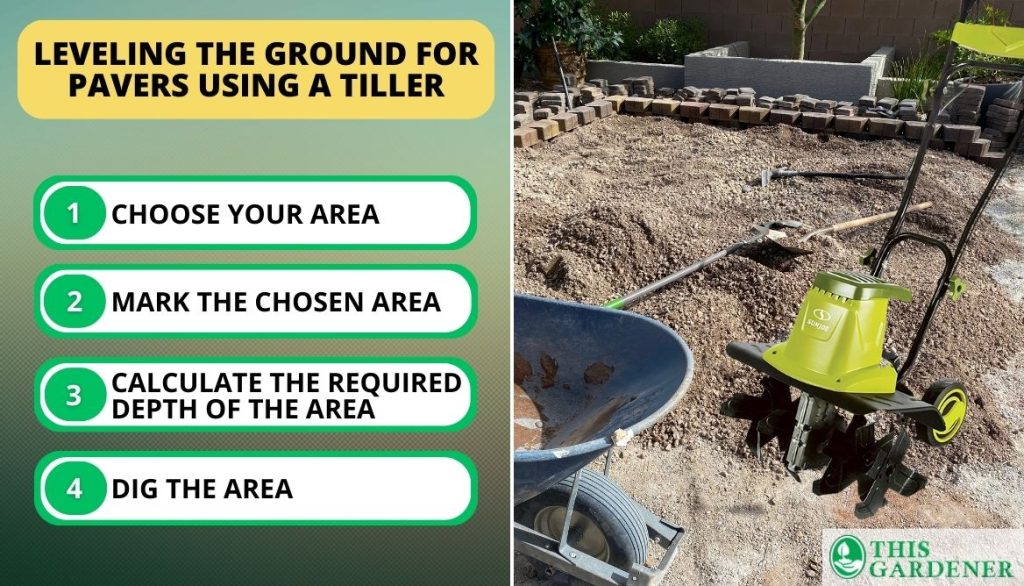
Here is a step-by-step guide on how to level the ground for pavers using a tiller:
- Choose your area: To calculate how many square feet of pavers you’ll need, measure the area where they’ll be placed. Simply calculate the area of one patio paver by measuring its length and width and dividing the result by the square foot or square meter value of that section.
- Mark the chosen area: Use paint or string to make an outline of the area. Make your workspace more visible with a little bit of colorful spray paint or thread. Paint can be sprayed around the edges to make a border. If any string is used, it should be strung around the perimeter of the work area and staked into the ground at regular intervals.
- Calculate the required depth of the area: Determine how much depth will be required. Measure the height of one paver and add the necessary gravel. Then, increase that number by three inches to account for sand. The difference between your pit’s floor and the suspended strings is represented by this value.
- Dig the area: The area should be dug up with a tiller. Get rid of the dirt everywhere and use a flat tool to even out the walls. The strings can be temporarily removed from the stakes and their locations marked with tape if they are causing obstructions.
Different Tiller Types and Their Uses
There are many types of tillers, although the most common ones are front-tine and rear-tine garden tillers. Careful consideration of your soil type, your physical capabilities and strength, and the size of your garden should go into deciding which tiller is right for you.
Garden Tillers
Let’s have an insight into the Garden Tillers:

1. Front-Tine Tillers
Some things you should know about front-tine tillers:
- The tines of a front tine tiller turn in a forward direction and the machine’s engine is placed either above or somewhat behind the tines to counterbalance the tiller.
- The machine’s mobility is greatly enhanced by the addition of wheels at its rear.
- Since most people don’t use a tiller daily, it’s worth considering that the front-tined tiller is generally less sophisticated and somewhat cheaper than the rear-tined tiller which makes it great for small to medium-sized gardens.
- When deciding on the best garden tiller, keep in mind that the rear-tined variety can be trickier to operate than its front-tined counterpart.
2. Rear-Tine Tillers
Check out important things about rear-tine tillers:
- Rear-tine tillers are the heaviest and strongest, but also the most expensive.
- In the case of boulders or large roots, they are simpler to use but they lack the mobility of the front tine tiller and may have trouble getting into some tight spaces.
- You’ll have better overall command of your tilling depth and be able to draw more precise lines with the back tine tiller.
How to Remove Grass from the Ground Using a Tiller
Tillers are very helpful in removing grass from the ground. Using hand tools can become very time-consuming and exhausting, so a tiller is one of the best options to remove grass the proper way. Let’s go through different steps for removing grass:
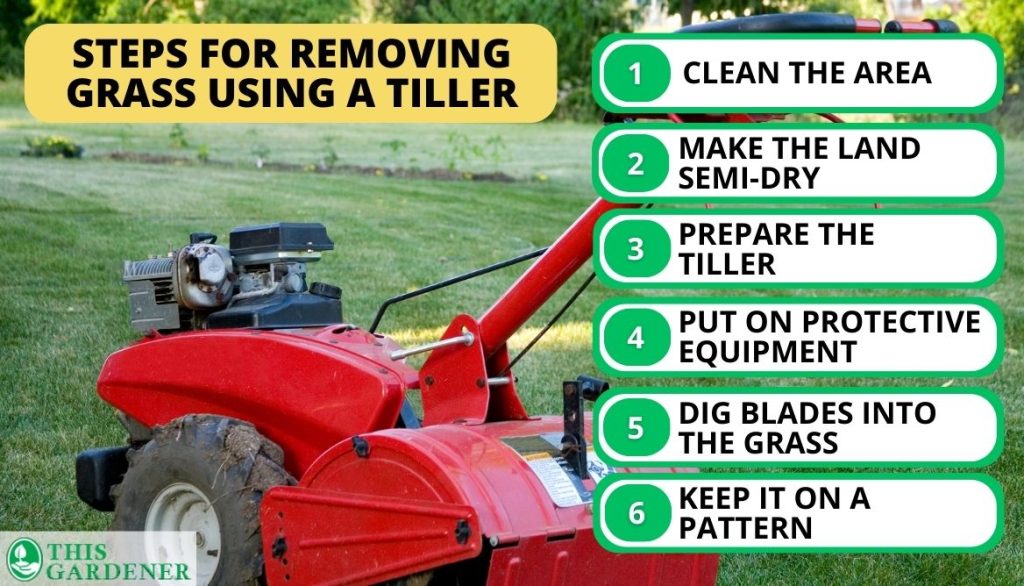
Step 1: Clean the Area First
Firstly, you need to get the cleaning process done.
- Gather any hay rows that have thick grass clippings and transport them to the compost pile before beginning groundwork.
- Clear the top of the ground of any branches, brush, or large boulders that may have accumulated.
Step 2: Make the Land Semi-Dry
If you’ve noticed that the ground is particularly dry and hard, water it until it softens. While soaking the area is important, waiting a few minutes for the soils to dry so they break up readily can make working on the muddy ground easier. Be sure not to overwater the soil so it creates a water pool.
Next, use your hands to feel the soil and make sure it’s not too muddy to start tilling; the dirt shouldn’t be soaked, but it should be damp.
Step 3: Prepare the Tiller
The size of the tiller you choose should match the area of the land you intend to cultivate.
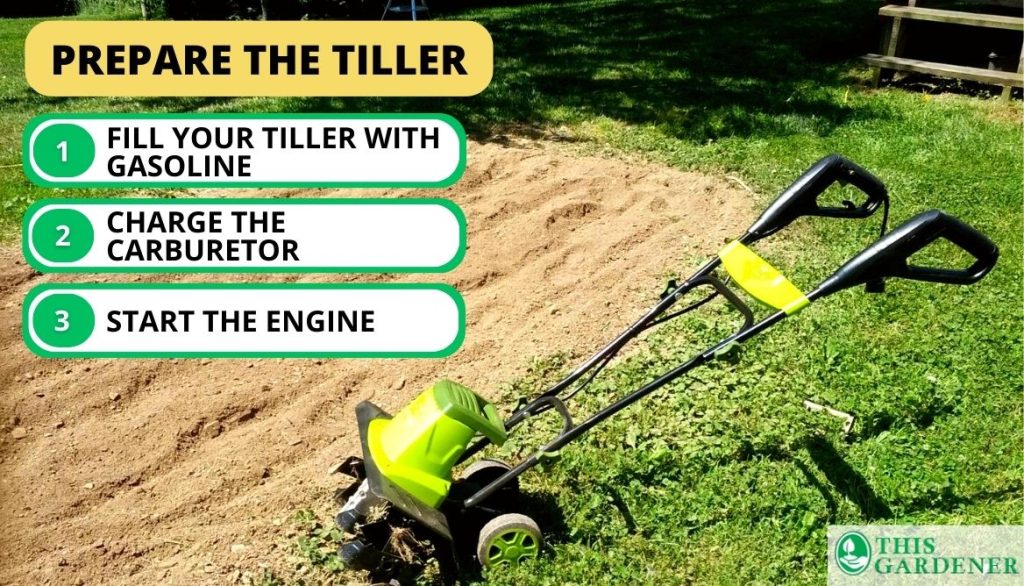
- Make sure your tiller is filled up with gasoline.
- Next, you will need to charge its carburetor. You can do so by repeatedly pressing the primer bulb or activating the choke. This will depend on your tiller.
- Pull the ignition handle several times until the engine starts. Allow it to warm up before using it.
Step 4: Put on Protective Equipment
When using a tool with blades that rotate underneath it, you should always wear protective gear. Dress appropriately by donning goggles, gloves, shoes, slacks, and a coat. Before you get started, read the manual and familiarise yourself with the tiller’s controls. If you need to take a break, make sure to turn off the tiller machine.
Step 5: Dig the Tiller Blades to the Bottom of the Grass
Follow these instructions for digging the tiller to the bottom:
- Squeeze the clutch lever to dig the tines into the ground. The soil will be churned up by the blades, so commence a continual, slow-forward push.
- Backtrack across the ground in a perpendicular direction.
- When you’re done with a row, be sure to press down on the handles to clean the blades.
Step 6: Keep it on a Pattern
Spread out new rows across the area and be sure to maintain them straight so that the soil is fully worked. When adding a new row, ensure sure there isn’t a space between it and the row before it. The best way to ensure accuracy is to leave a gap between rows when adding a new one.
This video “Tiller for Removing Grass” will help you out if you need more assistance.
Important Points to Remember
There are several important things to keep in mind regarding tilling your garden. These will help you to minimize mistakes and ensure the best possible result.

1. Prevent Compacted Soil
Soil can become compacted and lumpy if the soil is not prepared properly before tilling it. To ensure the soil is not compacted, water the soil lightly and allow it to rest fully before you start digging or tilling it.
2. Straight and Overlapping Passes
Be sure to make straight and overlapping passes when tilling the ground to ensure the best possible coverage of the entire area and to avoid any soil that is not properly tilled.
3. Pause Periodically and Avoid Too Many Passes
Do not use the tiller at a fast pace and avoid making too many passes, as this can ruin the already tilled soil causing it to eventually break, especially the bottom layer.
FAQ
What is the easiest way to level pavers?
Using a tiller is the easiest way to level pavers as only one piece of equipment can do the job effectively.
How do you level pavers on uneven ground?
You can level pavers on uneven ground by using a tiller to break up the uneven ground. Next, lay down a layer of landscape fabric to prevent any growth of weeds. Add a layer of sand however, be careful to avoid any lint or stone dust. Smooth the ground using a rake and finally lay down your pavers.
How do you make a level surface for pavers?
To make a level surface for pavers, first, make sure that there are no wires or plumbing in the area. Next, outline the chosen area and dig it up. Check to see if the land is level or if you need to flatten it more. Finally, after this is done, install your paving slabs.
What does a tiller of the ground do?
The tiller of the ground is usually used in gardens to break up loose soil. It is used to prepare the soil for planting.
What is the difference between a tiller and a rotavator?
The difference between a tiller and a rotavator is that a tiller is a small machine that is operated by a motor and is used to prepare the soil for planting, while a rotavator is a tractor-mounted rotary cultivator manufactured by the Howard Company in Australia.
Conclusion
We have learned that tillers can be useful in leveling the ground for pavers, their important features, how they work, and when to use them. Also, tillers are essential for gardening as they help prepare the soil for planting.
Do you use a tiller in your garden? Let us know in the comments.

I've been passionate about gardening since the early 1990s, and in 2022, I launched You Can Do It Gardening to empower individuals to feel more confident in their gardening endeavors.
Following a 30-year career in nonprofit finance and operations, I transitioned out of that field in mid-June of 2023 due to the growing demand for coaching services. Interestingly, my years of presenting financial statements to boards and finance committees proved to be valuable experience for teaching people about gardening! I enjoy sharing skills, providing guidance and suggestions, and collaborating efficiently with clients to make significant improvements to their outdoor spaces, both small and large. I also regularly teach at the Arlington Continuing Education and Cambridge Adult Education.
My approach is direct and practical, akin to Mary Poppins, but tailored to your garden. Clients find satisfaction in saving money and taking pride in their own gardening achievements.
- How to Get Potatoes to Sprout Eyes: Detailed Growing Guide with 3 Options - July 31, 2023
- Weight of a Medium Potato: Revealed in Detailed Guide - July 29, 2023
- Maris Piper Potatoes: 9 Substitutes You Should Know About - July 27, 2023
Hello! I’m Jessica Zander, a garden coach and consultant based in the Boston area (zone 6b), offering virtual consultations across the country and Canada.
I’ve been passionate about gardening since the early 1990s, and in 2022, I launched You Can Do It Gardening to empower individuals to feel more confident in their gardening endeavors.
Following a 30-year career in nonprofit finance and operations, I transitioned out of that field in mid-June of 2023 due to the growing demand for coaching services. Interestingly, my years of presenting financial statements to boards and finance committees proved to be valuable experience for teaching people about gardening! I enjoy sharing skills, providing guidance and suggestions, and collaborating efficiently with clients to make significant improvements to their outdoor spaces, both small and large. I also regularly teach at the Arlington Continuing Education and Cambridge Adult Education.
My approach is direct and practical, akin to Mary Poppins, but tailored to your garden. Clients find satisfaction in saving money and taking pride in their own gardening achievements.
Add comment