
![DIY Aeroponics: [Year] Comprehensive Guide with Pros and Cons](https://thisgardener.com/wp-content/uploads/2023/03/DIY-Aeroponics-Year-Comprehensive-Guide-with-Pros-and-Cons-740x423.png)
DIY Aeroponics has gained popularity with home gardeners. You can feed the plant with a nutrient-enriched spray mist. That means speeding up its growth, increasing the yield, and resulting in healthy produce.
While many agree that an aeroponics system is a better option over hydroponic net pots and in-soil methods, these are expensive to buy. Luckily you can make your own! But make sure to build it correctly.
This article will share the right method of building an aeroponic system, the materials you will need, and its pros and cons. Additionally, how to expand the system and plant cloning it.
Contents
What is meant by Aeroponics – Overview and Limitations
An aeroponic system refers to when plants are grown in the absence of soil with their roots dangling in the air. With the help of this technique, plants can develop more rapidly and healthily. It leads to better growth and general health for the majority of species.
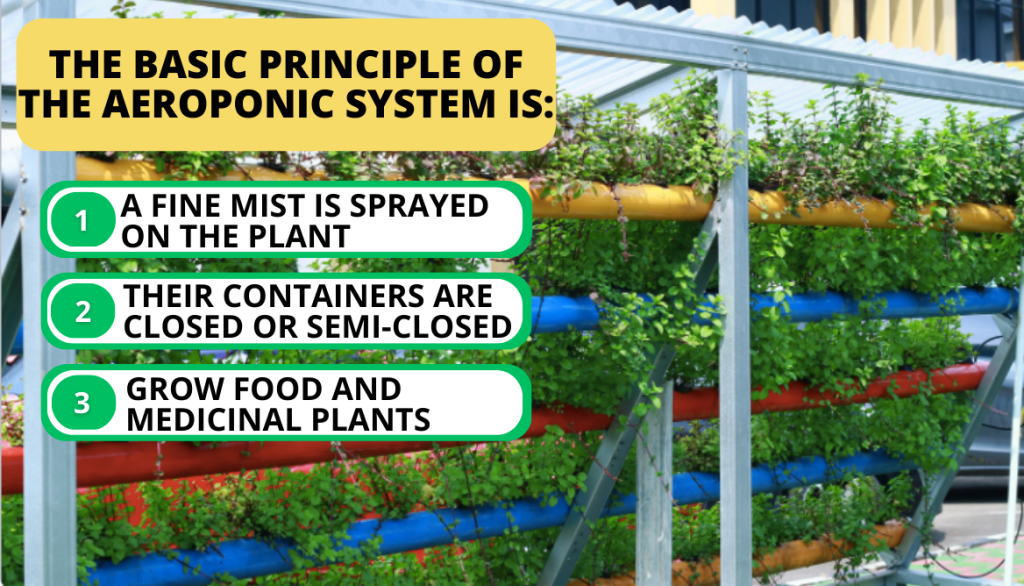
The basic principle of the Aeroponic System is:
- It is provided with nutrients by being sprayed with a fine mist.
- Their containers are closed or semi-closed.
- You can grow food and medicinal plants in it.
This growing medium is loved by the plants because:
- The nutrient-rich solution reaches the plant roots directly allowing efficient absorption.
- The root zone has access to plentiful oxygen and aeration.
- It prevents diseases caused by pathogens and lessens the need for pesticides.
- It helps manage carbon dioxide levels in the air system.
- Water is recycled and reused.
Due to Aeroponic System’s multiple benefits, people are trying to make these on their own. But the creations do not always turn out flawless. Watch this video to understand it better and read below to learn its limitations.
Do-It-Yourself Aeroponic System and Its Limitations
Do-it-yourself aeroponic systems are easy to make. These are encouraged to be built by oneself as a store-bought can be expensive. However, these often fail.
The reason for their underperformance is inadequate maintenance, lack of accurate growth records, and not resolving issues as soon as they arise. The problems could include:
- The plant may become dark brownish
- Rotten roots
- Incorrect nutrient levels
- Root zone warmer than optimal level
- Insufficient light or Overlit
- Partially blocked misting nozzle
- Power outage
- The whole system malfunctions when you are away.
Bottomline is you can note successful growth during the initial weeks however it can quickly turn into difficulties. No worries! Let us tell you all about the upkeep of an aeroponic system.
Why Build Aeroponic Growing System Your Self?
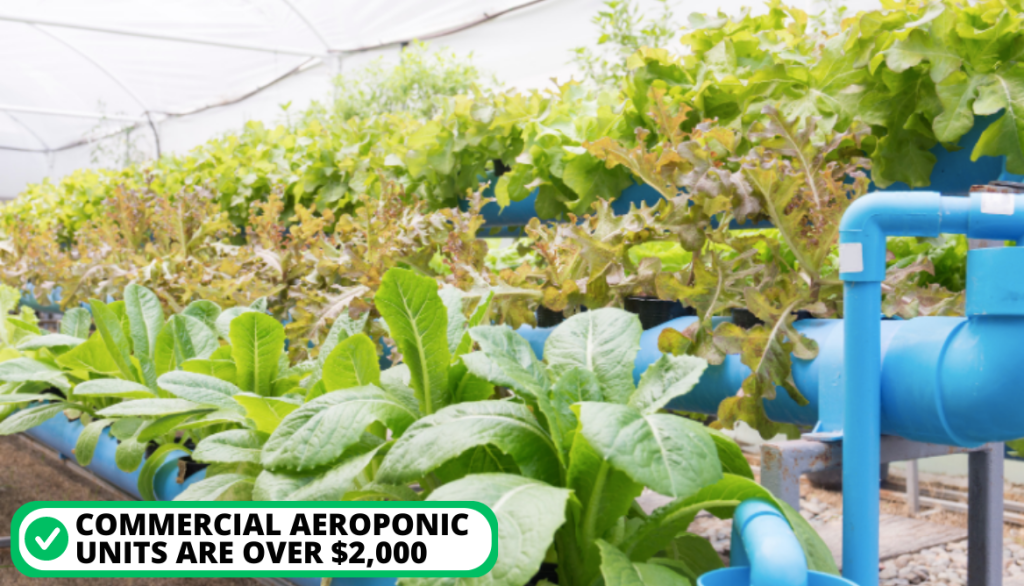
Commercial aeroponic units can be prohibitively expensive, with costs exceeding $2,000. Constructing a do-it-yourself system can lead to similar results at a significantly lower cost.
So by building the DIY aeroponic growing system you will be able to reap all of its benefits while saving on a lot of costs. Read below to know more about how it can help.
The Benefits of a Homemade Aeroponics System
The homemade system has numerous advantages. We have written some of them down. Let’s check them out.
1. Sustain hyper plant growth
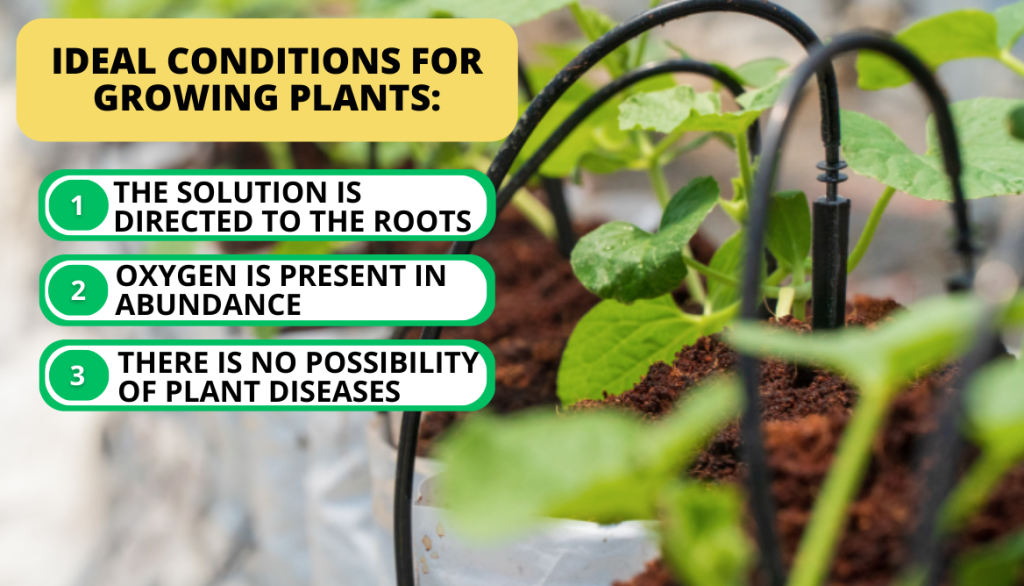
You can create the perfect growing conditions and sustain hyper-plant growth. This is possible because:
- All of the nutrient-rich solution is directed toward the plant roots.
- Additionally, oxygen is present in abundance.
- There are no chances of plant-to-plant diseases.
2. Create the Ideal System for Your Space
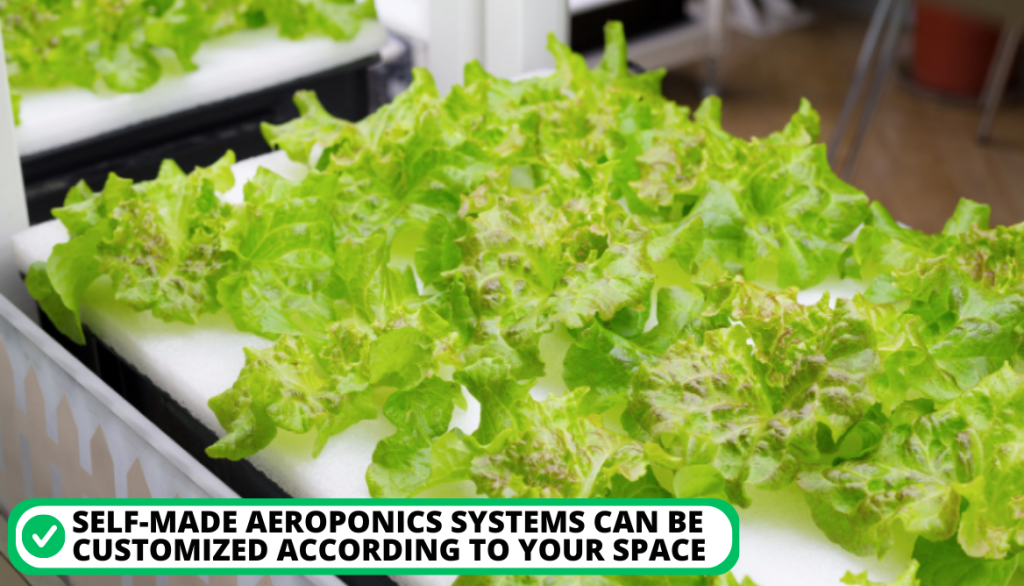
Self-made aeroponics systems can be customized according to your space. It will be able to fit the corners and edges, unlike the readily-built one. When building your own, you will even have options to choose your preferred parts such as:
- Misting nozzles,
- Pumps,
- Timers.
This will ensure that each component is according to the needs of the plants you wish to grow and of high quality.
3. Grow food and medicinal plants
Almost all plants can be grown in aeroponics units. This is why growing vegetables, fruits, and herbs in your backyard are one of its greatest advantages. You will also be satisfied with the product as it’s grown in front of you.
4. Know Your System Better
Building your aeroponics system can help you better understand how it functions and what it takes to keep it in good condition. You will know it inside and out. It will enable you to fix any problems and make modifications to enhance plant development.
What to Do if Building your Own System is not Possible?
Now some of you folks do not have time to construct a whole aeroponics growing system. We understand not everyone can take on a full-fledged project. Do not worry as we have sought some options you can consider. Have a look.
- ZXMT’s AeroPonics: This one has a great deal. $299 for 40 pots that are sleek looking and easy to assemble.
- AeroGarden Harvest: It has a control panel with touch buttons. You can even place it on countertops and grow your plant up to 12 inches in it. It comes with plant food.
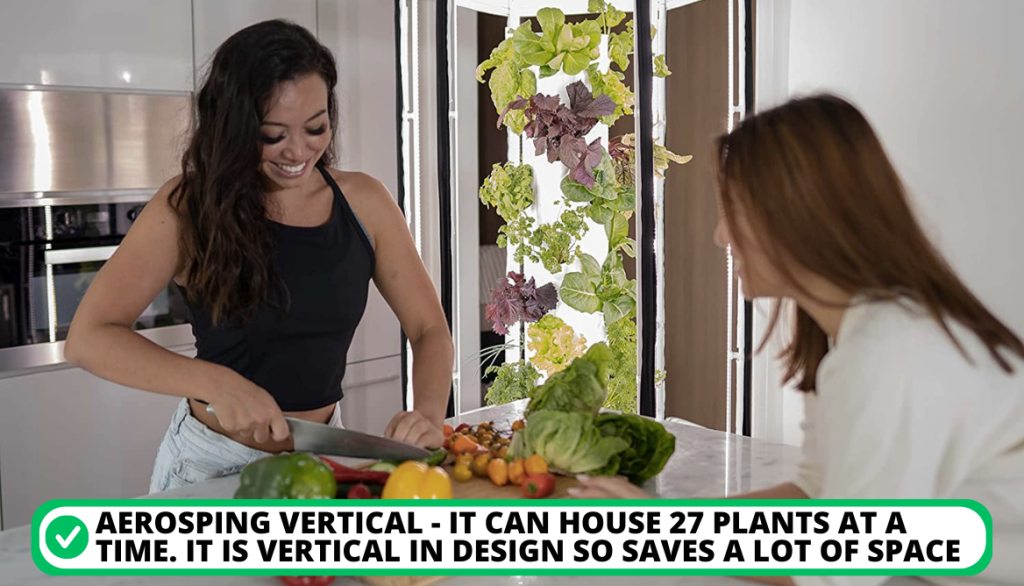
- AeroSping Vertical: It can house 27 plants at a time. It is vertical in design so saves a lot of space.
- Mr. Stacky Smart Farm: You can set a timer on it and it will self-water the roots. Come back to fully grown veggies and fruits.
- MIXC’s Irrigation System: This is not exactly a readily-built aeroponics system but every package of components you will need to build, in one place.
Aeroponics System from a 5-Gallon Bucket: Detailed Steps
So now let’s get into the building, shall we? Watch this video and read below to perfectly grasp how to do it.
What You’ll Need for DIY Aeroponic to Sustain Plant Growth
Materials Needed
We will start by gathering everything that is needed. Have a look at the materials and tools listed below. Check mark each item before beginning.
Note down the materials you need:
- Bucket: 5-gallon bucket with an end cap. (Made of food-safe substance)
- Poly Riser: Use a 12-inch section of half inches cut-off threaded poly riser.
- Sprinkler: 360-degree, threaded sprinkler heads.
- Fertilizer: A liquid fertilizer that will give growing plants a boost.
- Rocks: Coco pebbles or lava rock to prop up the plant.
- Hydroponics pump: A 317-gallon-per-hour submersible pump with half-inch threading and suction cups on the bottom.
- Timer: Electrical timer with indoor/outdoor use and half-hour increments.
- Netted Pots: 3 inches hydroponic net pots with rubber foam lids.
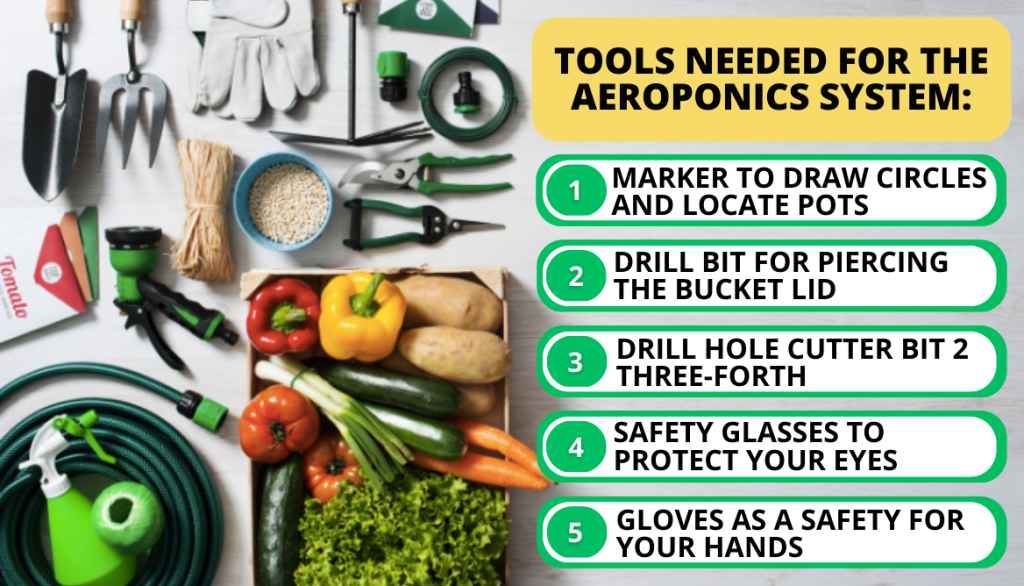
Tools Needed
- Marker: To draw circles and determined the net pot placements on the bucket lid.
- Drill: To pierce through the bucket lid.
- Drill hole cutter bit: 2 three-forth (slightly smaller than the 3-inch pots)
- Safety glasses: To protect your eyes. Sharp edges can fly around when drilling.
- Gloves: As a safety for your hands.
DIY Aeroponic Growing System from a 5-Gallon Bucket: Step-by-Step Process
Just in 7 simple steps, you will have your aeroponic growing system. Let’s start building.
- Prepare the Bucket’s Lid for the Net Pots: Carefully mark and cut holes in the food-grade bucket lid. Use a hole saw or drill bit to provide room for the net pots. Be sure that the openings are made precise and are just smaller than the pots to guarantee a tight fit. Drill a hole for the pump’s cord as well.
- Attach the Riser to the Hydroponic Pump: Connect the threaded polariser to the hydroponic pump with precision and care.
- Cut the Riser to the Required Height: Measure and cut the riser to sit a few inches below the bottom of the net pots. Now when the lid is placed on the bucket, it will be placed at the correct height.
- Install the Sprinkler Head: Carefully and precisely attach the sprinkler head to the top of the polarizer. Attach the hydroponic pump to the bottom of the food-grade bucket. Use it’s the suction cups to secure it. Making sure that the poly riser is in the middle. Verify that the sprinkler head is at a suitable distance from the net pots. If not, go back to step 3 and change the riser height as necessary.
- Power the Pump: Securely fasten the bucket lid. Pass through the cord to its designated hole and connect it to the timer. Lastly, plug the timer into an electrical outlet.
- Fill the storage bin with Water: Put two liters of water in the storage bin. It is advised to let tap water stand for at least two hours before adding plants. It will make the chlorine evaporate.
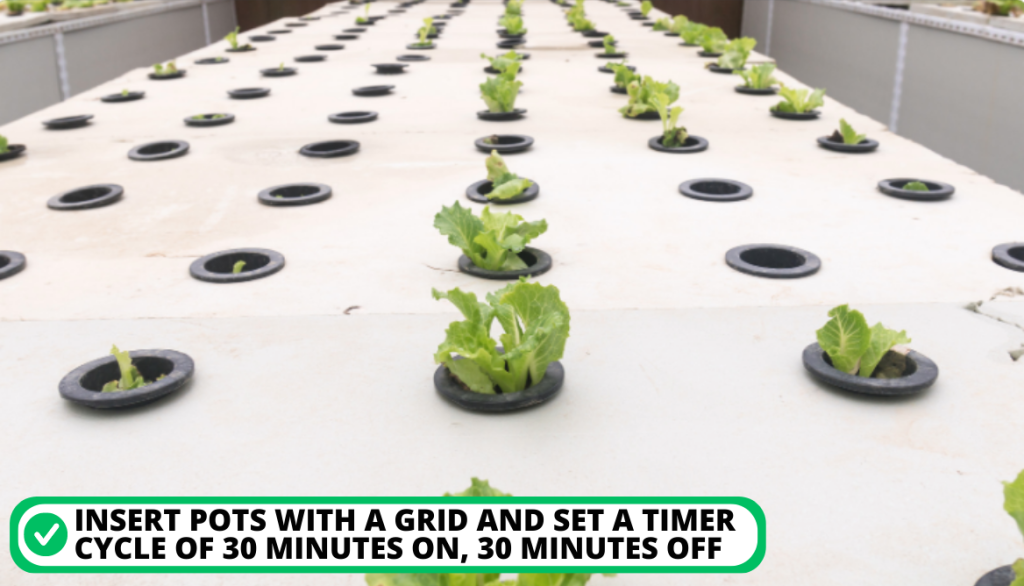
- Place Plants in the Net Pots and set the timer: Place plants into the net pots. Set them into the holes in the lid with care. Set the timer precisely and accurately to run on a cycle of 30 minutes on and 30 minutes off.
That’s it! Your aeroponic system is ready for growing plants.

Aeroponics System from a 30-Gallon Tub: Everything You Need to Know
If you wish to construct a bigger aeroponic system or want to expand from your 5-gallon one, continue reading.
You Will Require
Gather the following tools and materials before starting.
Materials Needed
- PVC Slip-to-Threaded Connectors: Six three-quarter-inch slip-to-half-inch threaded PVC connectors
- T Connector: A three-quarter-inch slip T connector with a half-inch threaded top
- Barb-to-Male Threaded Connector: A half-inch barb-to-male-threaded connector
- Sprinkler: Six 180-degree half-inch plastic threaded sprinkler heads
- Tube: Twelve inches of black flex-tubing
- Clamp: A half-inch hose clamp
- Valve: A half-inch flex-tubing shut-off valve
- Pump: A two hundred gallons per hour fountain pump
- Caulking: A tube of silicone caulking
- Cross Connector: A three-quarter inch slip “cross” PVC connector
- Elbow Connector: Six three-quarter-inch slip “elbow” PVC connectors
- Timer: An indoor/outdoor electrical timer with half-hour increments
- PVC Pipe: 77 inches of three-quarter-inch PVC Pipe
- Bulkhead Fitting: A half-inch threaded bulkhead fitting with a gasket
- Net Pots: Your desired number of net pots with rubber foam lids. The size and amount you choose should fit the top of the tub. It should suit the plants you intend to grow.
Tools Needed
- Caulking Gun: To apply caulking glue.
- Marker: To draw circles and determined the net pot placements on the container cap.
- Drill: To pierce through the container cap
- Drill hole cutter bit: Slightly smaller than your net pots)
- Safety glasses and Gloves: To protect your eyes and hands.
Complete Steps to Creating Aeroponice from 30-Gallon Tub
Follow the steps below:
- Prepare the Tub Lid: Drill holes in the lid of the tub to fit the hydroponic netted pots, making sure to space them apart. Use a slightly smaller drill bit to ensure a snug fit.
- Cut the PVC Pipe: Using a saw, cut the three-quarter-inch PVC pipe into the following lengths:
- Six pieces of 4.5 inches each
- Six pieces of 6 inches each
- One piece of 8 inches
- Two pieces of 3 inches each
- PVC Elbow Connection: Using primer and glue, attach a PVC elbow connector to each of the six 4.5-inch PVC pieces. Then, on the other end of each elbow, connect a 6-inch PVC piece to form the riser.
- Set the Sprinkler Heads in Place: Each of the 6-inch PVC risers should have a three-quarter inches slip to a half inches threaded PVC connection attached. Insert a sprinkler head into each.
- Join Sprinkler Elbows: Connect two elbows to opposite ends of a three-quarter slip T PVC connector. Continue this for the remaining sprinkler elbows and the second slip T connector.The two sprinkler elbows should be connected to the three-quarter cross PVC connector opposite ends. You now have three U-shaped PVC pipes with sprinklers on.
- Combine the U-shaped Section: Attach the 8-inch pipe to the bottom outlet of the U-shaped sprinkler section with the cross connector in the center. Attach one of the remaining U-shaped sprinkler sections to the other end of the 8-inch pipe.Hook a 3-inch pipe to the top outlet of the cross connector, and attach the three-quarter inch slip T connector with a half-inch threaded top.Finally, add another 3-inch pipe to one end of the T and bind the remaining U-shaped sprinkler section.
- Add the Barb, Attach the Pump, and Run the Cord: Attach the half-inch barb to the T connector and use half-inch flex tubing to hook the pump to the sprinkler unit inside the tub. Then close the lid securely and bring the cord out of its designated hole.
- Seal the Lid and Attach the Bulkhead: Seal the lid of the 30-gallon tub with silicone caulking, ensuring it is airtight. Then, measure and drill a hole in the base of the tub and attach the bulkhead fitting.
- Attach the Drain Valve and Fill it with Water: Link the shut-off drain valve to the other end of the bulkhead fitting using flex-tubing. Fill the tub up to just below the sprinkler head with water.
- Insert Netted Pots and Set Timer: Place your netted pots into the holes. Plug your hydroponics pump into the timer and then the timer into an outlet. Program it to a repeating cycle of 30 minutes on, 30 minutes off.
Easily Clone Plants Within DIY System of Aeroponics
You have finished building the aeroponics system now let’s use it to utilize plant growth began.
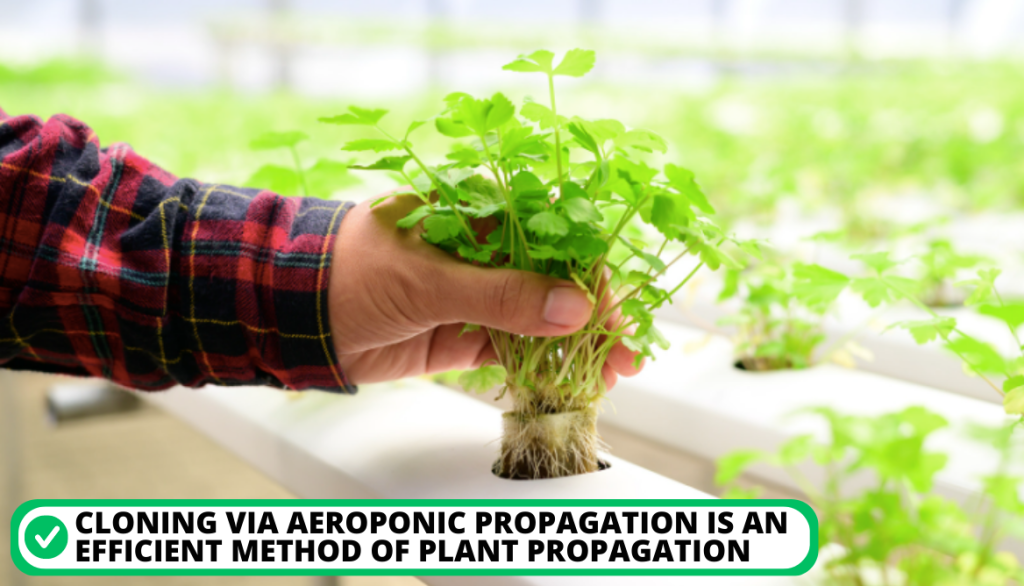
Cloning Plants Aeroponically
Cloning via aeroponic propagation is an efficient method of plant propagation. To effectively clone plants, follow the steps.
- Take a cutting from a plant.
- Place the cutting in an aeroponics pot.
- Fit the pot into the designated holes in the aeroponics large storage bin lid.
- Initiate the system’s operation.
Growing Plants Aeroponically
Doing the following will help support plant growth:
- Add fertilizer to make a nutrient solution and enrich the water vapor.
- Care for it properly and treat the problems as soon as possible.
Aeroponics to Grow Plants: Pros and Cons
Aeroponics has massive benefits but it does come with its flaws. Let’s study.
- Aeroponic systems use significantly less water than traditional soil-based gardening and other hydroponic systems.
- It requires a small space and can be stacked vertically.
- Mist environment helps the roots to receive almost all oxygen and carbon dioxide present.
- Due to the ideal growing conditions, it can deliver larger yields than conventional techniques.
- The nutrient solution must be carefully monitored and adjusted to ensure plants receive an adequate amount.
- It requires routine maintenance and cleaning to avoid clogging.
FAQ
Is aeroponics better than hydroponics?
Aeroponics is better than hydroponics according to the experts. It comparatively provides more suitable conditions for plant growth.
What are the 3 disadvantages of aeroponics?
The 3 disadvantages of aeroponics are that it is vulnerable to power outages. It requires regular cleaning to prevent algae and technical expertise to operate.
What materials are needed for aeroponics?
Materials needed for aeroponics are netted plant pots, hydroponics pumps, sprinklers, a riser, a bucket, and a timer.
Do plants grow faster in aeroponics?
It has been noted that plants do grow faster in aeroponics due to receiving a large amount of oxygen and nutrients.
What is the best-growing medium for aeroponics?
The best-growing medium for aeroponics is the air as represented by its name.
Conclusion
We have learned that building 5-gallon aeroponics is quite easy. You will only need house tools with hydroponics pumps, sprinklers, a riser, a bucket, net plant pots, and a timer. Once you start running the system, you will have to take care of its maintenance.
Constructing aeroponics is worth the effort as it is proven to grow healthy plants and produce high yields. The difference is significant as compared to traditional methods.
Let us know in the comments if you are ready to build an aeroponics system and what are you planning to grow.

I've been passionate about gardening since the early 1990s, and in 2022, I launched You Can Do It Gardening to empower individuals to feel more confident in their gardening endeavors.
Following a 30-year career in nonprofit finance and operations, I transitioned out of that field in mid-June of 2023 due to the growing demand for coaching services. Interestingly, my years of presenting financial statements to boards and finance committees proved to be valuable experience for teaching people about gardening! I enjoy sharing skills, providing guidance and suggestions, and collaborating efficiently with clients to make significant improvements to their outdoor spaces, both small and large. I also regularly teach at the Arlington Continuing Education and Cambridge Adult Education.
My approach is direct and practical, akin to Mary Poppins, but tailored to your garden. Clients find satisfaction in saving money and taking pride in their own gardening achievements.
- How to Get Potatoes to Sprout Eyes: Detailed Growing Guide with 3 Options - July 31, 2023
- Weight of a Medium Potato: Revealed in Detailed Guide - July 29, 2023
- Maris Piper Potatoes: 9 Substitutes You Should Know About - July 27, 2023
Hello! I’m Jessica Zander, a garden coach and consultant based in the Boston area (zone 6b), offering virtual consultations across the country and Canada.
I’ve been passionate about gardening since the early 1990s, and in 2022, I launched You Can Do It Gardening to empower individuals to feel more confident in their gardening endeavors.
Following a 30-year career in nonprofit finance and operations, I transitioned out of that field in mid-June of 2023 due to the growing demand for coaching services. Interestingly, my years of presenting financial statements to boards and finance committees proved to be valuable experience for teaching people about gardening! I enjoy sharing skills, providing guidance and suggestions, and collaborating efficiently with clients to make significant improvements to their outdoor spaces, both small and large. I also regularly teach at the Arlington Continuing Education and Cambridge Adult Education.
My approach is direct and practical, akin to Mary Poppins, but tailored to your garden. Clients find satisfaction in saving money and taking pride in their own gardening achievements.
Add comment