

Indoor gardening is gaining speed because of its controlled environment and high yield. As a first-time grow tent user, it is okay to be skeptical. Yet, with the right information setting up a grow tent is simple, and we are here to walk you through it. When it comes to setting up a grow tent for plants, you have to be thorough with every detail. We are going to provide you with the steps to set up grow tent kits for beginners.
To grow healthy plants indoors, you need to recreate their natural environment and control the weather. Factors such as temperature, humidity, light, and air are essential for growing and harvesting robust plants. A grow tent gives you control of all these factors and more, but you need to set it up the right way.
If you’re in a hurry, the best grow tent on the market is the Apollo Horticulture 60x60x80 Grow Tent. It is affordable and sizable enough to accommodate a handful of plants for a start and offers unrivaled benefits.
Contents
Setting Up Grow Tents? Here Are Some Things to Consider
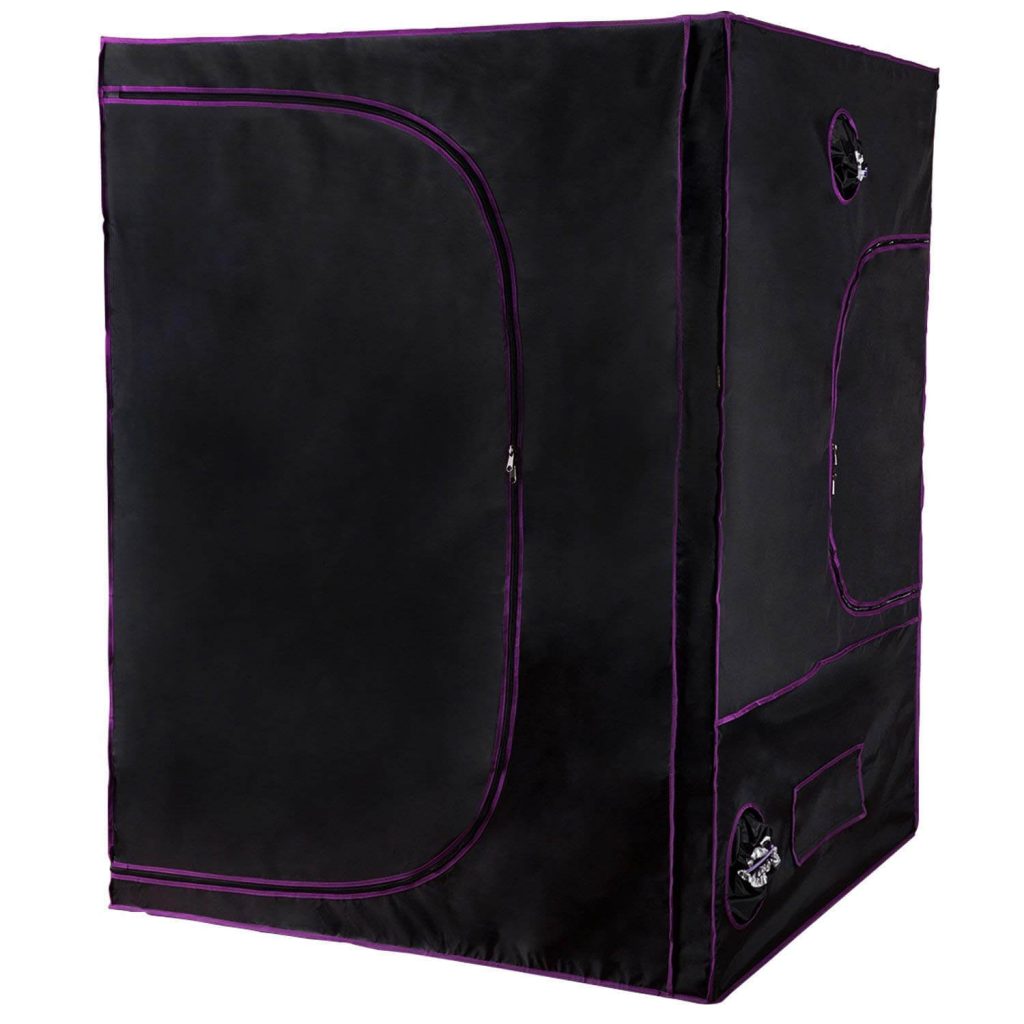
1. Picking a grow tent
Setting up a grow tent is super-easy. You can find videos on how to set up a grow tent online, but they won’t tell you everything. Before we dive in, we would like to go over some essential things you need to consider before buying a grow tent.
2. Size & Temperature
The main thing that should determine the size of the grow tent you decide to buy is the plant you want to grow. The size of the grow tent you purchase is critical to the success of your plants. Size is one of the essential decisions you have to make when setting up a grow tent. Say you settle for a small indoor grow tent, and the plants become crowded as they grow. It will lead to stress as the plants struggle for water, light, and nutrients leading to stunted growth and reduced yield.
On the flip side, if the grow tent’s size is too large, you will waste money on electricity powering lights and extraction fans. Now you see why you need to invest in a tent that matches your growing operation to avoid unnecessary issues.
Temperature is a crucial factor in a grow tent that needs close monitoring and regulation using ventilators. The best temperature range for most plants is between 70 to 85ºF. However, most plants prefer higher temperature ranges and thrive in even warmer stable temperatures. When it comes to plants and temperature, the most critical factor is to ensure that it is within a constant range.
When setting up your grow tent, you need to ensure the day and night time temperatures are somewhat within a consistent range. The best way to maintain a constant temperature is to make sure the temperature difference is between 10 – 15ºF.
3. Carbon dioxide (CO2)
In college biology, you were taught that humans breathe in oxygen and breathe out carbon dioxide. Well, plants take in carbon dioxide and give off oxygen. The levels of carbon dioxide in a grow tent directly influence the growth rate of the plants. Carbon dioxide is so important because it is used in photosynthesis (food production) in plants. Carbon dioxide levels between 1,200 to 1,500 ppm are known to have increased the growth rates of plants in grow tents. However, as carbon dioxide levels rise, there may be a relative increase in temperate, which you need to take into consideration.
4. Light & Air circulation
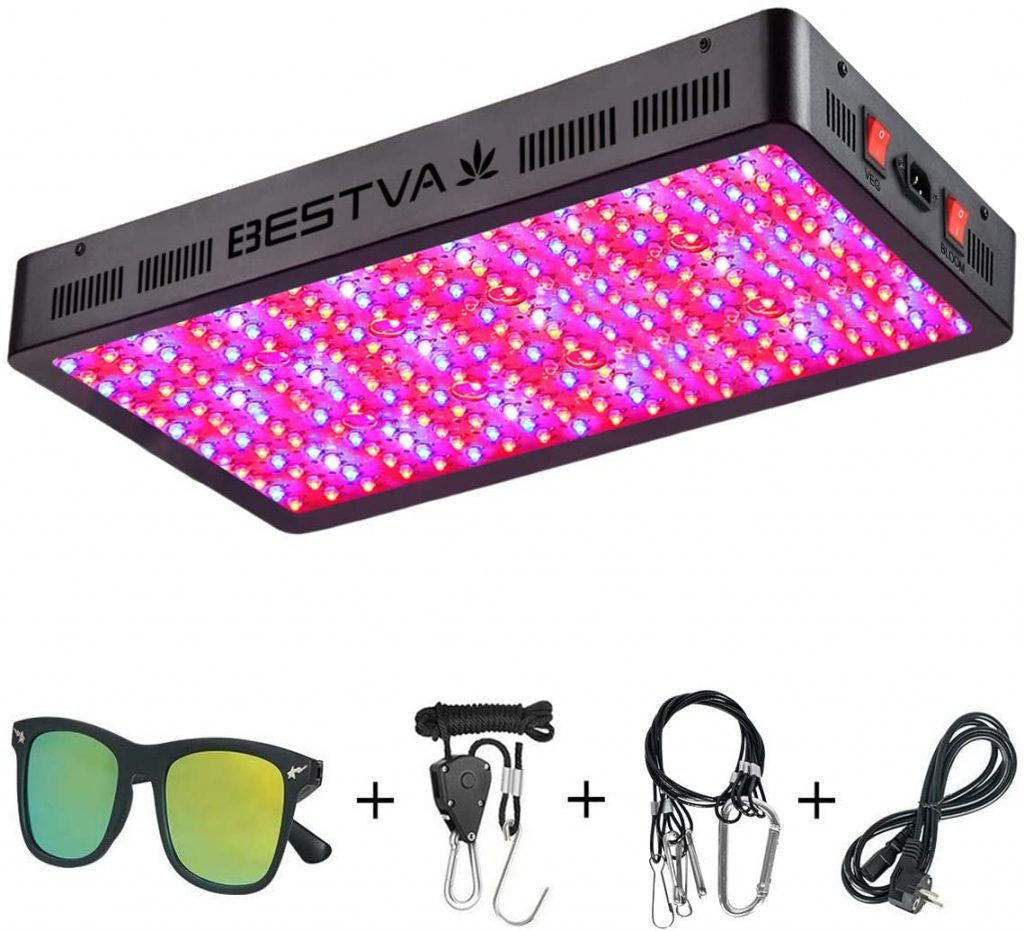
You need as much light in a grow tent as possible to enable plants to photosynthesize, which produces healthy plants. The amount of light you install when setting up your indoor tent is a crucial element to the quality of your harvest. The last decade has seen a lot of advancements in technology and indoor plant growth. There is no better time to purchase and set up a grow tent than now due to the considerable improvement in lighting technology.
LED lamps are the best lighting option for your grow tent, just that they are a bit expensive. They give off light in the full spectrum without getting too warm, unlike other lamps. By now, you must understand that setting up a grow tent means you have to be in total control. Insects are one of the diehard animals in the world and are not exempted from indoor grow tents.
The best way to combat insects in your grow tent is to ensure there is adequate air circulation. Make sure the plants are getting enough air to prevent fungus gnats, ants, and spiders. But, try not to point the fans directly on the plants as they may dry out or grow prematurely.
5. Humidity
There are two schools of thought when it comes to grow tent humidity. The first group argues that the humidity levels in a grow tent do not affect plant growth. The other groups argue their point with research that shows that humidity in grow tents influences plant growth depending on their growing stage. Experience has also shown that plants prefer an approximate relative humidity of 60%. When setting up your grow tent, you need a hygrometer to measure the relative humidity of the tent.
Moreover, you can always increase the humidity of the tent by placing trays of water close to the plants. Also, you can add a larger plant that transpires more to your growth system.
6. Light reflection
Most people do not consider this factor. Hence most grow tent manufacturers make most grow tent interiors reflective. Reflective materials help plants grow at optimal levels and reduce light pollution. As a beginner, you can easily play around with these growing conditions until you find the right one that suits the plant you are trying to grow. Though you might find guidelines for the exact plant you are growing, we advise you still to play with these grow settings and more.
Properly Setting Up Grow Tent Kits In 9 Steps
We mentioned earlier that setting up a grow tent is easy, but note that there are some specific steps to achieve the best result.
Step 1: Gather your tent tools and supplies
The best way to attack any project and finish on time is to start by gathering everything you will need. Carefully read through the instructions in your grow tent and get these tools – wire, pulley, wire cutters, duct tape, box cutter, and screwdrivers.
You might also need to buy some essential parts that did not come with your grow tent. If you live in an area with a dry climate, you will need to buy a humidifier. Also, a roll or two of duct tapes, power strips preferably with surge protector and ducting hose.
Step 2: Hygiene
Most beginners fail to disinfect the space for their grow tent before setting it up. Consequently, this makes it easy for fungi and insects to get to their plants once they germinate. Before you assemble your grow tent, you need to carefully sterilize and clean the ceiling, floor, and windows of the room. Ventilate and allow the space to dry before you continue to the next step.
Step 3: Assembling the grow tent
Grow tents are usually made of aluminum bars you have to set up using plastic pieces. Now, both parts are marked or numbered, so you will know how to connect them to form the structure of the tent. Grow tents come in a range of shapes and sizes – rectangular or square. But we believe the grow tent you purchased will fit in the space you intend to use because you must have measured it beforehand.
The first thing you need to do under this step is to construct the frame. The second thing is to put the fabric in place.
- To set up the frame of the tent, you need to unpack the grow tent package and separate the aluminum bars, plastic pieces, and fabric. Assemble the structure of the grow tent by connecting the aluminum bars to the plastic parts using the user manual.
- Once the frame is ready, move it to the location where you want it to be and prepare the cloth. However, your plants need water, and there is every chance it will spill on the floor. So, you have to protect the floor with plastic or mats, especially if you have carpets on the floor.
- Most tent fabrics are made of heavy canvas or lightweight nylon, depending on the manufacturer. Before you fit the cloth, ensure the zippers open quickly and if there are any defects on the fabric.
- Open the zippers and place the fabric over the aluminum bars, slide it down slowly tugging on the fabric gently. Note that fitting the material takes a lot of patience to avoid ripping it.
Step 4: It’s the grow light
Lighting is an essential factor and component when setting up a grow tent. The amount of light your plants get daily directly influences their growth and production rate. To adjust the height of the lamps, you have to install pulleys in your tent, which you can purchase online.
- Most grow tent lights come with mounting hardware that allow you attach the lamps to the frame of the tent. Follow the light and pulley’s instruction guide to hang the light at the best height for your plant.
- Once the mounting hardware is in place, fasten the lighting hoods, so they direct the light to your plants.
- When placing wiring for the lights, connect them properly, and keep them out of the way to avoid electrical hazards.
Step 5: Ventilation setup
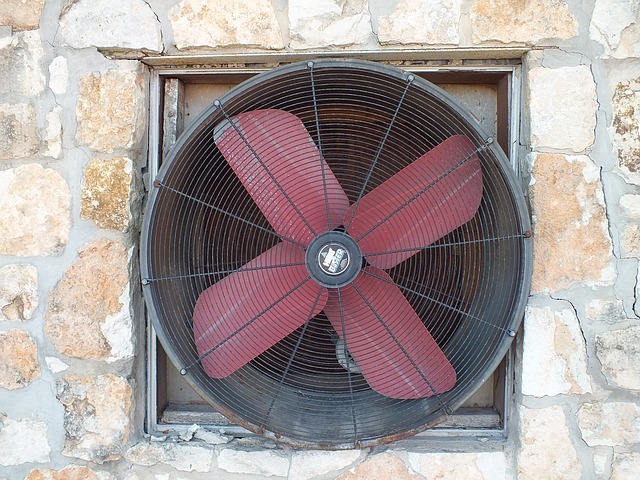
You need to determine the best place to place the fan and carbon filter before you fix them. Fixing the extraction and intake fans is the first thing to do after setting up the tent.
- Install the cables for the extractor and intake fan as they sometimes do not come with their cables. Then attach the extractor and intake fan to the upper frame using ropes or clamps and ensure it’s working.
- The intake fan requires a big flexible aluminum ducting so it can take in adequate fresh air for your plants. Hang the carbon filter on the tent’s crossbar close to the edge of the tent using clamps or ropes.
- Next, hang the intake fan to point towards the carbon filter and directs the exhaust to the grow tent ventilation opening. Measure the distance between the exhaust fan and the carbon filter.
- Then use the wire cutter and box cutter to cut the ducting tube to the measured length. Install the ducting between the exhaust fan and the filter and connect it to the ventilation opening in your tent.
- Fasten the ducting in place using duct tapes to avoid leakage, then run the power cords through the closest power cord hole.
Step 6: Temperature gauge
Your grow tent is a controlled environment and you have to always keep an eye on the temperature, humidity, etc. It is optimal to install all monitoring equipment at the same level as your plants. If they are mounted too low or high, you will not get accurate readings, and your plants could suffer.
Step 7: Timers
Plants require specific hours of light time to stay healthy, and blossom and you need a timer to regulate the lights. Timers can turn lights on/off and any other equipment that you want to automate.
Step 8: Safety test
Once everything is set, you need to run a test to make sure everything works the way it should. Also, you need to take a second look at the electrical connections, ensure all cords are properly attached and run a safety test.
Step 9: Place the plants
The moment the tent is entirely constructed, and the growth system is working as it should, place the plants in the grow tent. After adding the plants, you need to keep a close eye on the humidity, temperature, and CO2 levels, you can adjust the settings.
Wrapping Up…
Before now, when assembling a grow tent as a beginner, you had to hire someone. But thanks to the internet, you can read the user instructions, set up guides like this one, and watch instructional videos.
A grow tent is a valuable investment as you can easily clean it and grow a new plant after one season. It allows you to grow healthy plants and prevent them from been infected with diseases. Get to work and take a second look at this article whenever you get lost or miss a step because you will.
I've been passionate about gardening since the early 1990s, and in 2022, I launched You Can Do It Gardening to empower individuals to feel more confident in their gardening endeavors.
Following a 30-year career in nonprofit finance and operations, I transitioned out of that field in mid-June of 2023 due to the growing demand for coaching services. Interestingly, my years of presenting financial statements to boards and finance committees proved to be valuable experience for teaching people about gardening! I enjoy sharing skills, providing guidance and suggestions, and collaborating efficiently with clients to make significant improvements to their outdoor spaces, both small and large. I also regularly teach at the Arlington Continuing Education and Cambridge Adult Education.
My approach is direct and practical, akin to Mary Poppins, but tailored to your garden. Clients find satisfaction in saving money and taking pride in their own gardening achievements.
- How to Get Potatoes to Sprout Eyes: Detailed Growing Guide with 3 Options - July 31, 2023
- Weight of a Medium Potato: Revealed in Detailed Guide - July 29, 2023
- Maris Piper Potatoes: 9 Substitutes You Should Know About - July 27, 2023
Hello! I’m Jessica Zander, a garden coach and consultant based in the Boston area (zone 6b), offering virtual consultations across the country and Canada.
I’ve been passionate about gardening since the early 1990s, and in 2022, I launched You Can Do It Gardening to empower individuals to feel more confident in their gardening endeavors.
Following a 30-year career in nonprofit finance and operations, I transitioned out of that field in mid-June of 2023 due to the growing demand for coaching services. Interestingly, my years of presenting financial statements to boards and finance committees proved to be valuable experience for teaching people about gardening! I enjoy sharing skills, providing guidance and suggestions, and collaborating efficiently with clients to make significant improvements to their outdoor spaces, both small and large. I also regularly teach at the Arlington Continuing Education and Cambridge Adult Education.
My approach is direct and practical, akin to Mary Poppins, but tailored to your garden. Clients find satisfaction in saving money and taking pride in their own gardening achievements.
Add comment